How to Remove ContentBarrier X9—Intego Products Uninstall Support
“How can I completely remove ContentBarrier X9 from my Mac? Can somebody tell me how to do? I try to uninstall it from Mac Trash, but also I found some remaining in my computer.” If you have problem to eliminate the Intego products or Intego Mac Premium Bundle X9 in computer, keep reading this blog for help on each Intego Mac Premium Bundle X9 uninstall support.

In last stories, we have written the detailed instruction for Intego products uninstall support including how to uninstall Intego VirusBarrier 2017 / or Intego Mac Premium Bundle X9 on macOS and Mac OS X, if you haven’t read the tutorials, click the title bellow to learn more:
How Should I Fast Remove Intego VirusBarrier 2017 on macOS and Mac OS X
How to Uninstall Intego Mac Premium Bundle X9
In addition, this blog is about the latest version ContentBarrier X9 removal guide, if you are searching the proper way to completely remove ContentBarrier X9 on macOS, then keep on reading.
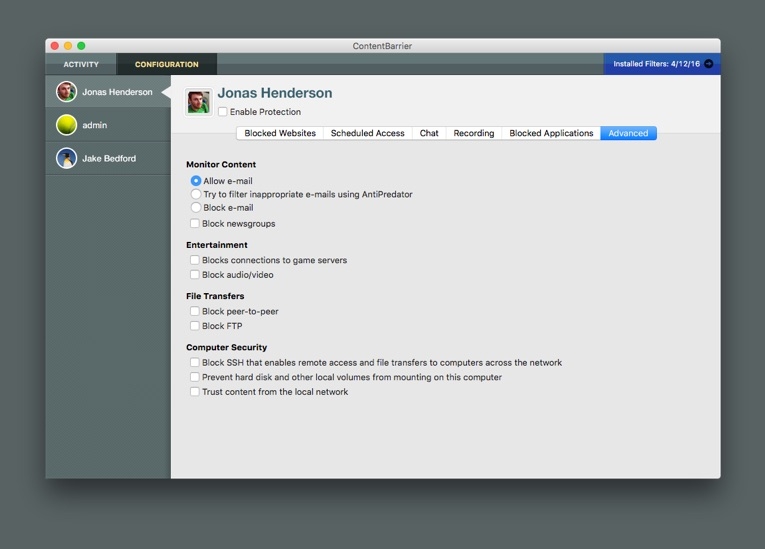
From Intego: ContentBarrier X9 knows that the Internet is a double-edged sword: it’s a great resource for kids, but strangers and inappropriate websites lurk just a click away. Intego ContentBarrier acts as your children’s digital guardian whenever they go online. It allows you to set up customized profiles that monitor Internet habits and restrict adult content. Your kids are given a world that’s age-appropriate and you’re given peace of mind.
Proper Ways to Remove ContentBarrier X9
Usually, there are two method to remove ContentBarrier X9, including automatic tool and manual approach to completely get rid of it.
If you have tried manual way (Mac Trash) to uninstall ContentBarrier X9, but it didn’t work, then I think you should try now tool to help, such as the macOS uninstall app—Osx Uninstaller to completely &safely remove ContentBarrier X9 in the following steps.
Method 1: Remove ContentBarrier X9 with automated tool
1. Shut down ContentBarrier X9 app first
Some users might fail in removing ContentBarrier X9 due to the app is still running at background in some case, in order to avoid this situation happening, make sure you have quitted the app:
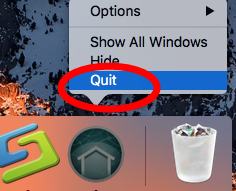
a. Right click the ContentBarrier X9 icon on Dock, and then choose Quit option;
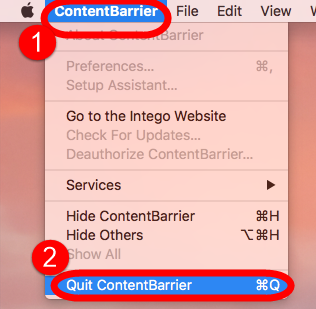
b. Click the setup on the top left corner near Apple icon, and choose Quit ContentBarrier X9 option (press Command +Q)
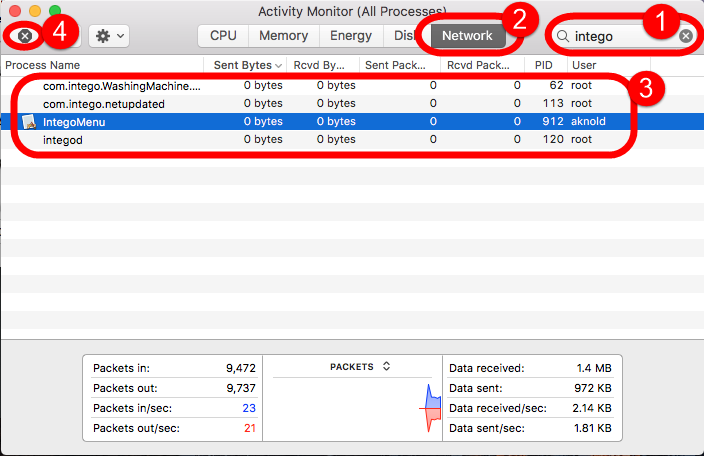
c. Negative Activity Monitor from Application >> Finder >> Dock, click the Network button, select all running process of ContentBarrier X9 for Mac, then click X on the left, hit Quit to confirm the exit.
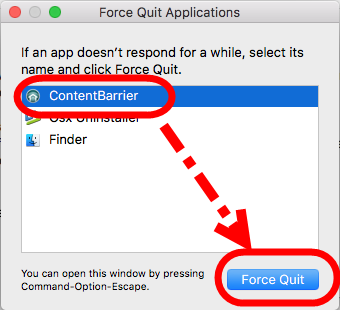
d. If a, b, c didn’t work, then try force quit window by pressing shortcuts of Command-Option-Esc.
2. Fast remove ContentBarrier X9 with Osx Uninstaller
Download and install the OU package from the green button and begin the removal tour:
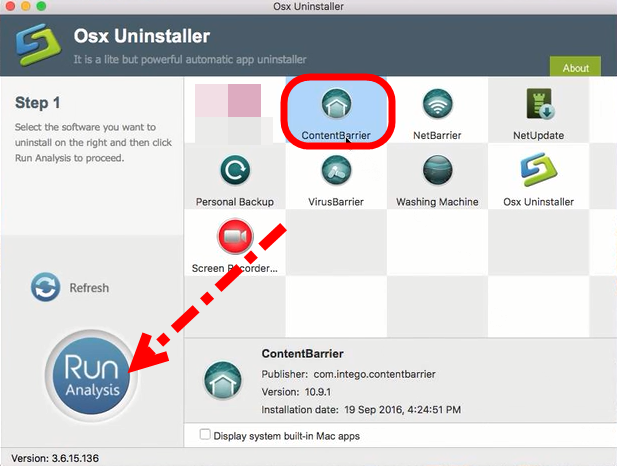
Step 1: Easily find ContentBarrier X9 for Mac and select it in the interface after launching OU, and then click the button “Run Analysis”;
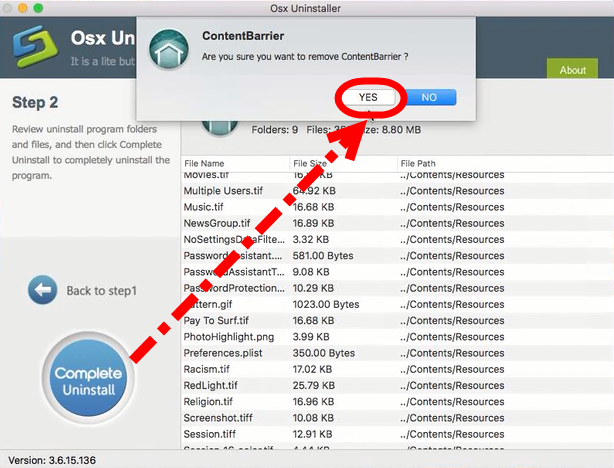
Step 2: Easily click on button Complete Uninstall to conduct the regular removal. Then click Yes to delete all leftovers scanned;
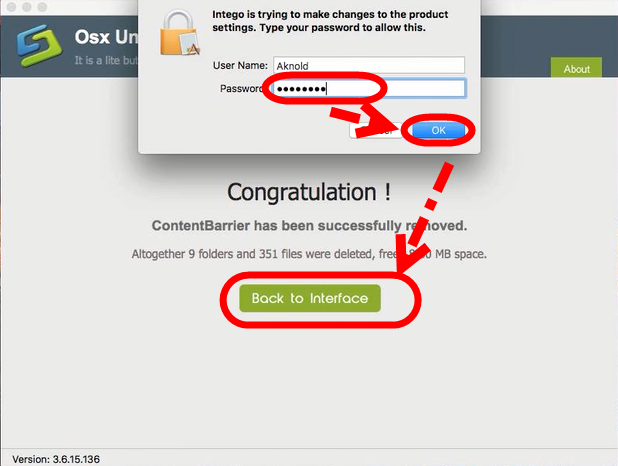
Step 3: Not in a second you will receive a congratulation massage in Step 3, which means you have successfully removed ContentBarrier X9 from macOS system.
Learn more details and information to fully remove ContentBarrier X9 by following video tutorial bellow:
Proper Ways to Fully Uninstall Alfred for Mac
Here’re Multiple Ways to Uninstall 1Password for Mac
Method 2: Remove ContentBarrier X9 with Mac Trash
1. Shut down ContentBarrier X9 app first
2. Drag ContentBarrier X9 into Trash
Although some users have problem to remove ContentBarrier X9 by using Mac Trash, but this is still the most common and typical method to uninstall things in Mac. Now let’s take a look on how it works:
- Click the Finder icon on Dock;
- Click Application on the left panel;
- Find Intego folder in Application and drag ContentBarrier X9 straightly into Trash;
- Or right-click it and choose “Move to Trash”;

Now you’ve only done the half part to remove ContentBarrier X9, check the next part you should do.
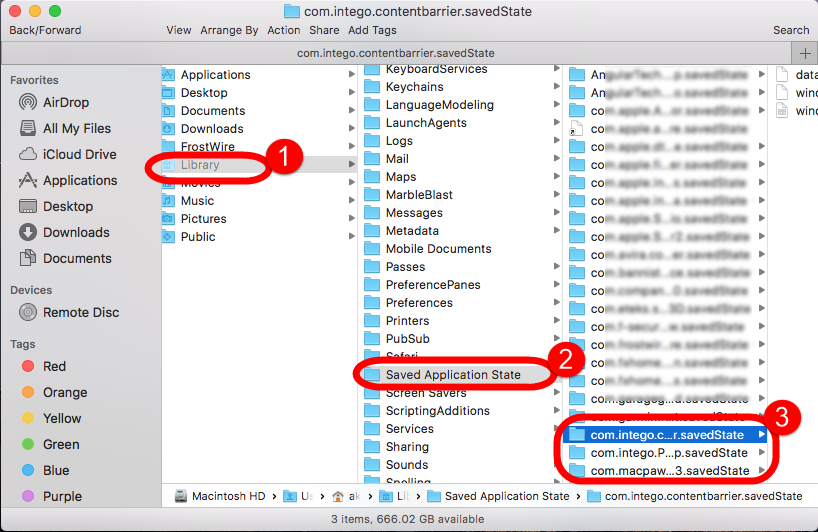
3. Delete all leftovers in Library folder
- Launch “Finder”
- Go to Menu Bar, and select Go > Go to Folder…
- Type “~/library” in the box, hit Go
- Next search the files in the name of ContentBarrier X9 in the most usual folders in Application Support, Caches, and Preference;
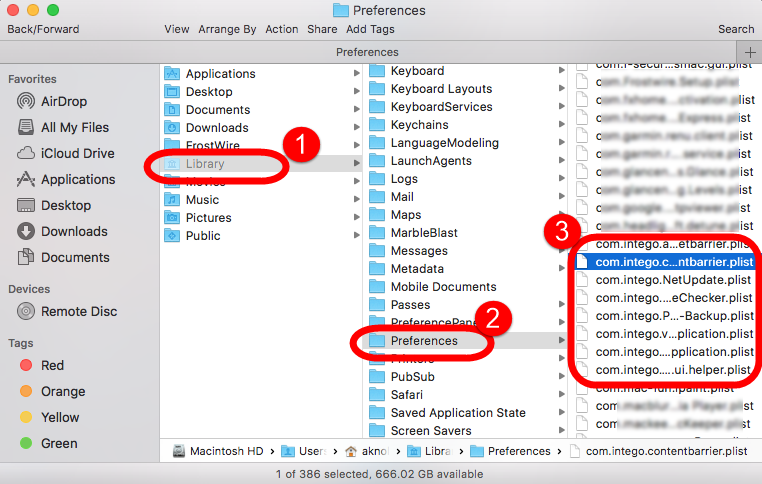
- Once they showed right-click to delete all of them
- Finally, right-click Trash, choose Empty the Trash to confirm your whole removal.
Unluckily, some leftovers remained in other folders like ~Library/C:
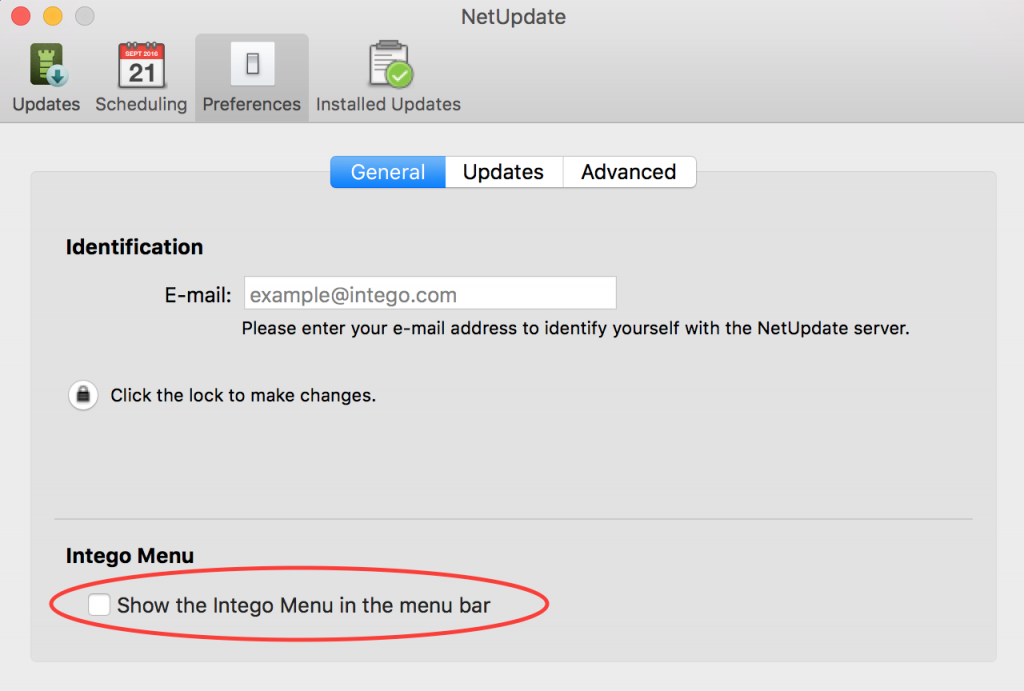
More tips: Removing the Intego Tower Icon From the Menu Bar
The setting for the Intego menu is located in the Preferences section of NetUpdate.
Open NetUpdate > Preferences, locate the Intego Menu section and uncheck the ‘Show the Intego Menu in the menu bar‘ item.
If you have removed ContentBarrier X9 and still see the NetUpdate icon in your menu bar, you may need to properly uninstall your Intego software. For proper uninstall instructions, please check here, or search the key word “Intego” in search box to learn more Intego products uninstall supports.
 $29.95/lifetime