Uninstall Adobe Lightroom and Remove Its Traces on Mac
Have no idea how to totally uninstall Adobe Lightroom from your Mac? Fail to install the newer version due to the incomplete removal of the older one? Different version of Lightroom may require you to perform slightly different uninstall step. In this post we will show you proper ways to remove Lightroom for Mac once and for all.

Generally speaking, to perform a clean uninstall, you should not only delete the app itself, but also remove all associated components from macOS. But note that before deleting Lightroom, make sure that this app or any related process is deactivated.
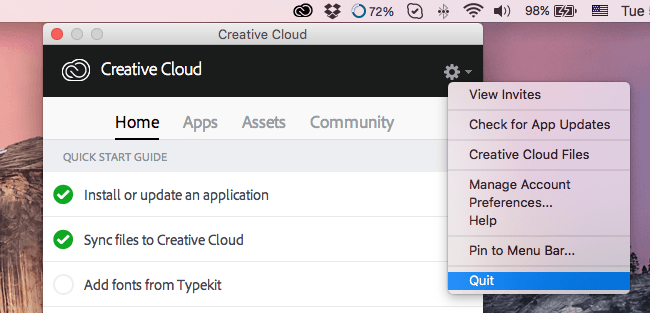
To fully shut down Lightroom, firstly right click its icon in Dock and choose Quit (or press Cmd+Q when the Lightroom window is at front). And then launch Activity Monitor to check if any process associated with Lightroom is still running:
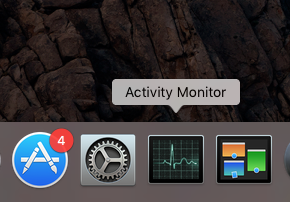
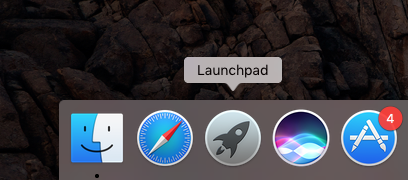
- Open up Activity Monitor from Dock, via Launchpad or in Finder.
- Type Lightroom in the Search box, and select the process that contains the word.
- Click the X icon on the upper left corner, and click (Force) Quit in pop-up dialog.
Uninstall Step 1. Delete Lightroom Software
There are mainly three options to uninstall Lightroom for Mac: trashing it from Applications folder, removing it via Launchpad, or running its dedicated uninstaller.
(1) Locate and launch the built-in uninstaller
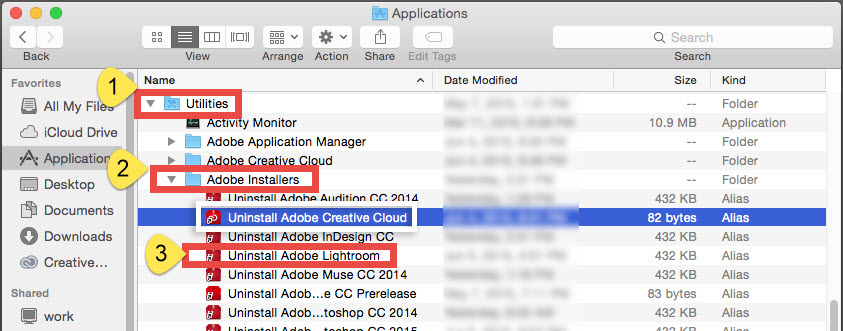
- Open up Finder, head to /Utilities folder, and locate Adobe Installers folder inside.
- In the Adobe Installer sub folder, double click Uninstall Adobe Lightroom icon.
- Follow the onscreen prompts to complete uninstall process, and reboot your Mac.
Some versions of Lightroom does not include an uninstaller. If you don’t see Adobe Installer in the Utilities folder, navigate to Applications > Adobe Lightroom, and double click the “Uninstall Adobe Lightroom” executable if it exists there.
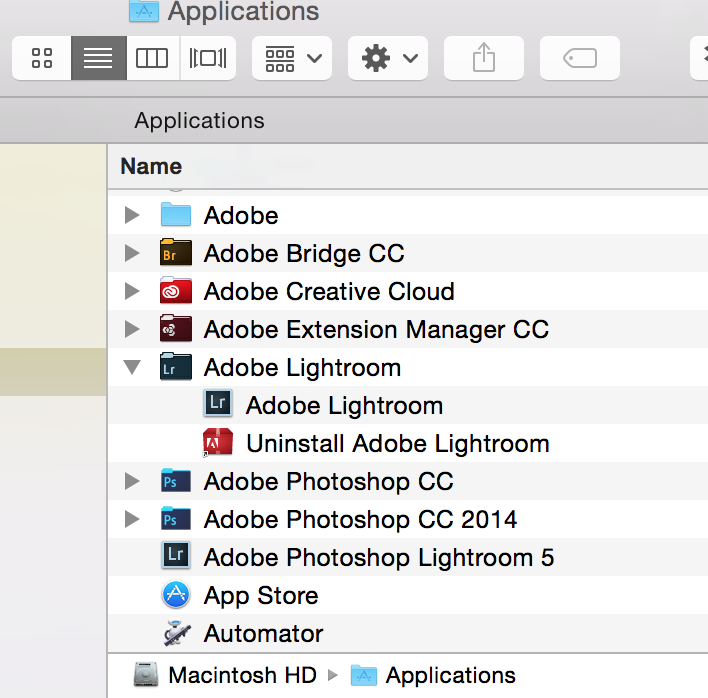
(2) Trash Lightroom from /Applications Folder
- In Finder, click Applications in the sidebar to access to the folder.
- Select Lightroom, drag the app icon to the Trash in Dock and drop it there. Meanwhile, you can execute the deletion by right-clicking Lightroom and choosing Move to Trash, or by highlighting the app and heading to File menu > Move to Trash.

- When prompted, type your admin account password to allow this change.
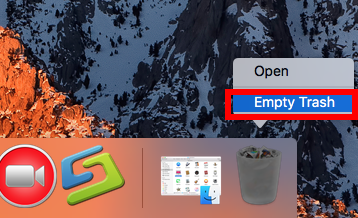
- Head to the Finder menu at the top bar, and then choose Empty the Trash option.
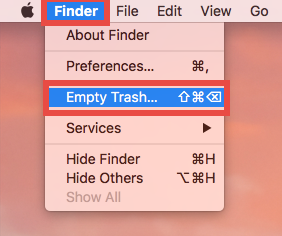
Notice: Emptying the Trash will instantly delete all the items you’ve thrown into the Trash, and this operation is irrevocable. Be very cautious when you perform this step.
The trash-to-uninstall method works in all versions of Mac OS X. As soon as you empty the Trash, the Lightroom app will be removed instantly and permanently.
(3) Uninstall Lightroom in Launchpad
- Head to Launchpad, and type Lightroom in the search box at the top.
- Hold on Lightroom with your mouse until the icon begins to wiggle and show X. Alternative, you can press and hold the Alt/Option key until all apps start to jiggle.
- Tap the X in the left top corner, and then click Delete in the pop-up dialog.

If you’ve installed Lightroom through Mac App Store, you can take this method. Once you click the Delete button, the selected app will be uninstalled instantly from your Mac. If you don’t see the X appearing upon the app you installed from Mac App Store, one possible reason is that your current account has not administrative privileges.
Uninstall Step 2. Delete Lightroom Leftovers
You may have no problem in deleting Lightroom software, but questions come when you try to clear out all Lightroom data. So, how to delete the preferences file, the catalog file, and other Lightroom files on your Mac? Follow the instructions below to hunt down and remove all Lightroom-related files and folders:
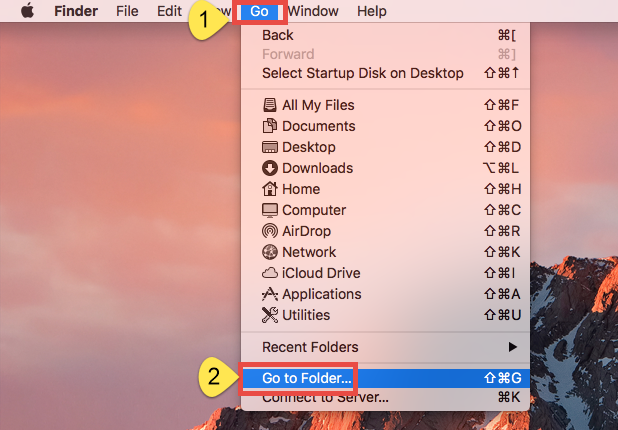
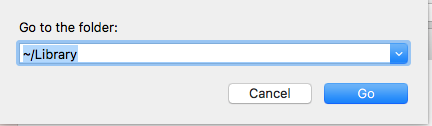
- Open the Finder, head to the Go menu in Menu Bar, and choose Go to Folder.
- Type ~/Library in the box that appears, and hit Enter key to open up the folder.
- Search for the items whose names contain Lightroom in the locations:
~/Library/Caches/, ~/Library/Preferences/, ~/Library/PreferencePanes/, ~/Library/ApplicationSupport/, ~/Library/LaunchAgents/, ~/Library/LaunchDaemons/, ~/Library/StartupItems/
Warning: Don’t rush to delete any file if you are not sure whether it belongs to Lightroom. Mistakenly deleting unrelated items could affect other apps or even the system. To locate Lightroom leftovers precisely, use the Search feature in Finder:
- In ~/Library, click Search in upper right corner, and type Lightroom in search bar.
- Click “Library” under the bar to show the result in the specific folder.

- Select the matched items in the search result, and delete them to the Trash.
- After that, repeat the steps to delete Lightroom leftovers stored in Library folder.
- Finally, empty the Trash to permanently get rid of all Lightroom traces.
For now you should have successfully uninstalled Lightroom and remove its remnants from macOS/Mac OS X. Mac beginners may feel a little sophisticated to complete all the manual uninstall steps. Well, if you wish to be exempted from the tedious, laborious work, the one-stop solution shown below may be more suitable for you.
Quickly Uninstall Lightroom by Using Osx Uninstaller
Osx Uninstaller is a lightweight but powerful tool that allows users to delete all components of target app within a few clicks. If you encounter issues when trying to uninstall a problematic, stubborn or malicious app, try if Osx Uninstaller could help.
With this tool in hand, you can take simply 3 steps to totally get rid of Lightroom:
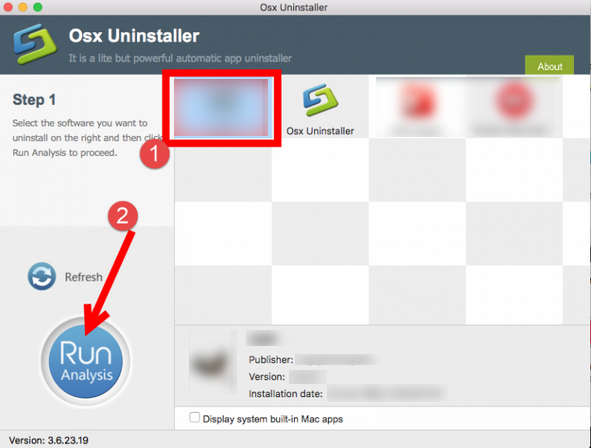
- Launch Osx Uninstaller, select Lightroom and click Run Analysis button.
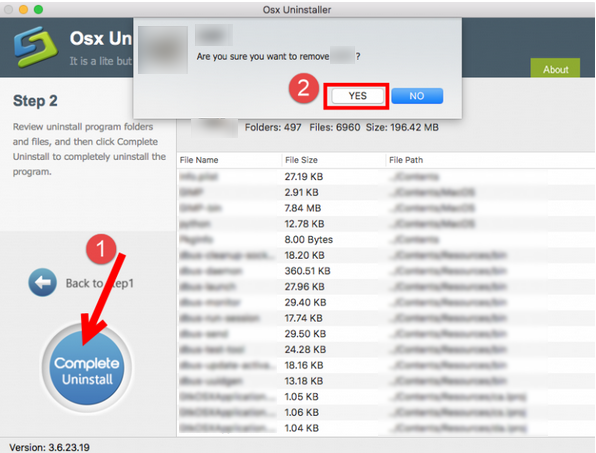
- Click Complete Uninstall, and then click Yes to execute the uninstall.
- Click on Back to Interface button to re-scan currently installed apps.
You can repeat the same steps to remove other plugins or apps belonging to Lightroom. The whole process is streamlined, easy-to-operate and time-saving.
To conclude, this post contains detailed instructions to guide you through uninstalling Lightroom. Which uninstall option do you prefer to take? Anytime you are caught in uninstall troubles, a handy uninstaller like Osx Uninstaller can offer comprehensive assistance, but note that this tool requires a valid license key to work perfectly.
 $29.95/lifetime