How to Uninstall GRIDS for Mac Completely?
Can’t uninstall GRIDS for Instagram on your Mac in person? Are you tired of uninstalling unneeded apps that you would have to spend a lot of time and effort in cleaning out all leftovers? Or maybe you’ve been stuck with uninstalling GRIDS because you don’t know which files should be deleted and how to succeed in a complete removal.

In this article, we will help you figure out how you can uninstall GRIDS or any other apps for Mac completely and easily. We start from the absolute beginning with uninstalling GRIDS for Mac in a manual way, and we will end with a professional uninstaller tool and using it to completely uninstall any unneeded apps for Mac in no time.
What is GRIDS for Mac?
GRIDS for Mac is the Instagram desktop client for macOS that provides users with superb Instagram experience in a convenient way on desktop. GRIDS for Instagram desktop client makes your browsing Instagram and doing all things on your desktop easily, without having to use a mobile phone, like posting photos and videos, viewing and posting stories, bookmarks, exploring all your interested things, comment, switching between all your accounts, sending messages and more.

GRIDS for Mac stands for a whole new way to browse, explore, play or work with Instagram. You can browse videos, photos, and stories in a large or full-screen view, and adjust the window to an expecting size as needed. You also can adjust the layout to your window size to make all photos looks beautifully. Thus, if you want to have a large screen view of Instagram and post photos, videos, or stories fast and easily and explore more possibilities, then the GRIDS for Mac Instagram desktop client is a great choice.
How to Uninstall GRIDS for Mac Manually?
Regarding how to uninstall GRIDS for Mac manually, we have a complete manual uninstall guide for you here. Follow the step-by-step instructions to move the GRIDS for Mac app to the Trash. And get how to get rid of GRIDS leftovers on your own.
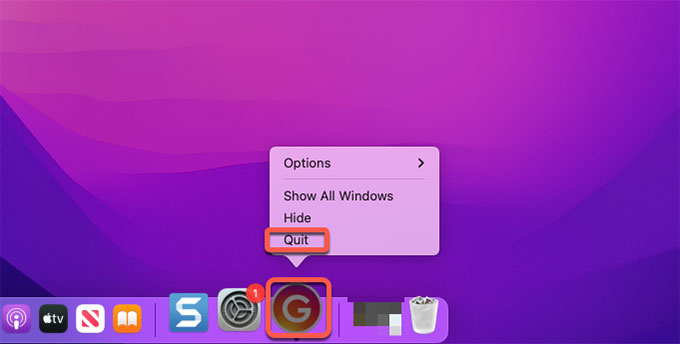
Step 1: To get started with uninstalling GRIDS for Mac, we should make sure it has been quit on your Mac. You can refer to two methods to quit and force quit the GRIDS app.
Method 1: Right-click the GRIDS app icon in the Dock > select the Quit option from the pop-up menu.
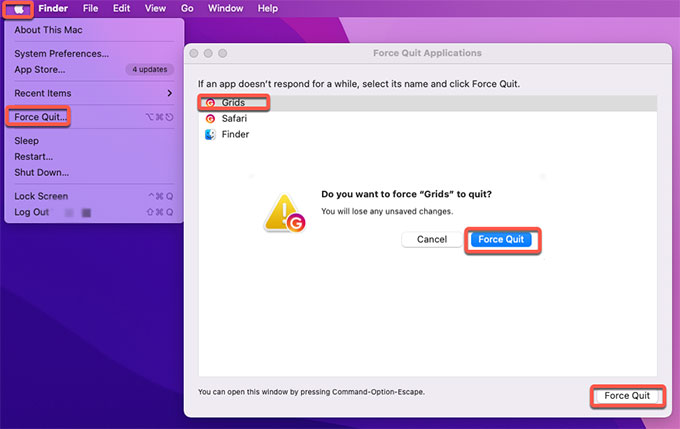
Method 2: If you couldn’t quit the GRIDS app on the Dock, then click the Apple menu on the top-left corner of your Mac > from the pop-up menu click Force Quit > click on the GRIDS app > click Force Quit. And then click Force Quit option again to make sure that you need to force the “GRIDS” app to quit right now. Once done, you have successfully force quit the GRIDS app for your Mac.
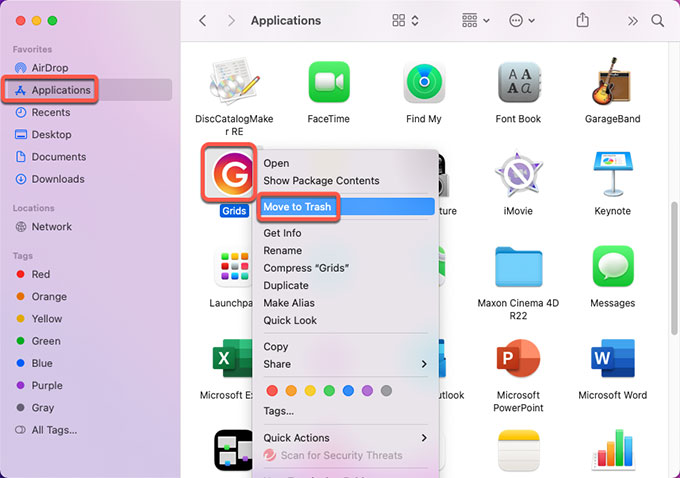
Step 2: Now, we are going to uninstall GRIDS for Mac. Click Finder > open Applications folder > right-click on the AutoDesk app > select the Move to Trash option from the pop-up menu.
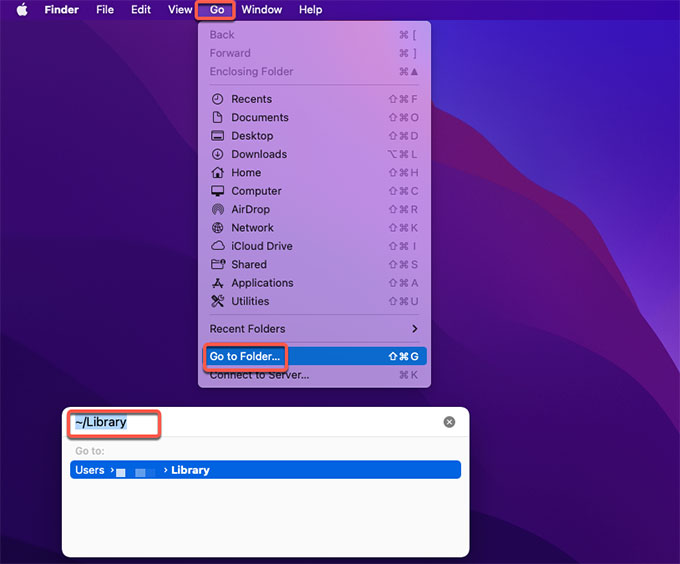
Step 3: Don’t miss out on the key step to get rid of all the GRIDS’s leftovers for your Mac. Click Finder > click Go > click Go to Folder. Enter the ~/Library in Go to the folder box and click Go. Navigate to the following sub-folders one by one to delete GRIDS relevant files.
- Application Scripts
- Application Support
- Caches
- Containers
- Cookies
- Logs
- Preferences
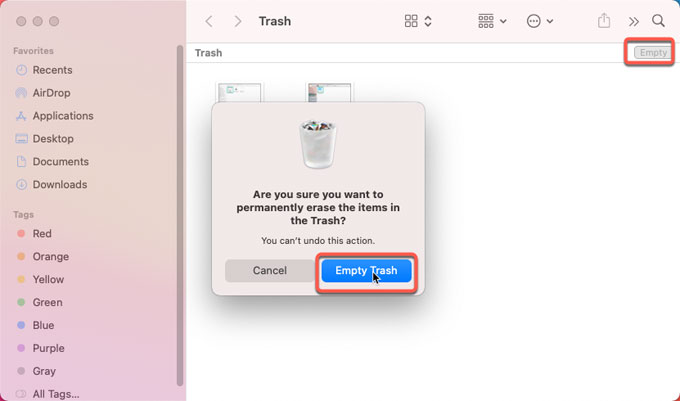
Step 4: Finally, open the Trash folder in on the Dock, empty all items associated with the GRIDS app immediately. Once done, Restart your Mac to apply the change.
Can’t Uninstall GRIDS Completely – How to Uninstall It Automatically?
If you couldn’t uninstall GRIDS for Mac completely, then we suggest you give the professional Osx Uninstaller tool a try. Take advantage of a notable uninstall tool to ace all the issues you may face while uninstalling GRIDS for Mac. Step by step instructions are also included. Follow the steps to clean out all things related to the GRIDS app for your Mac.
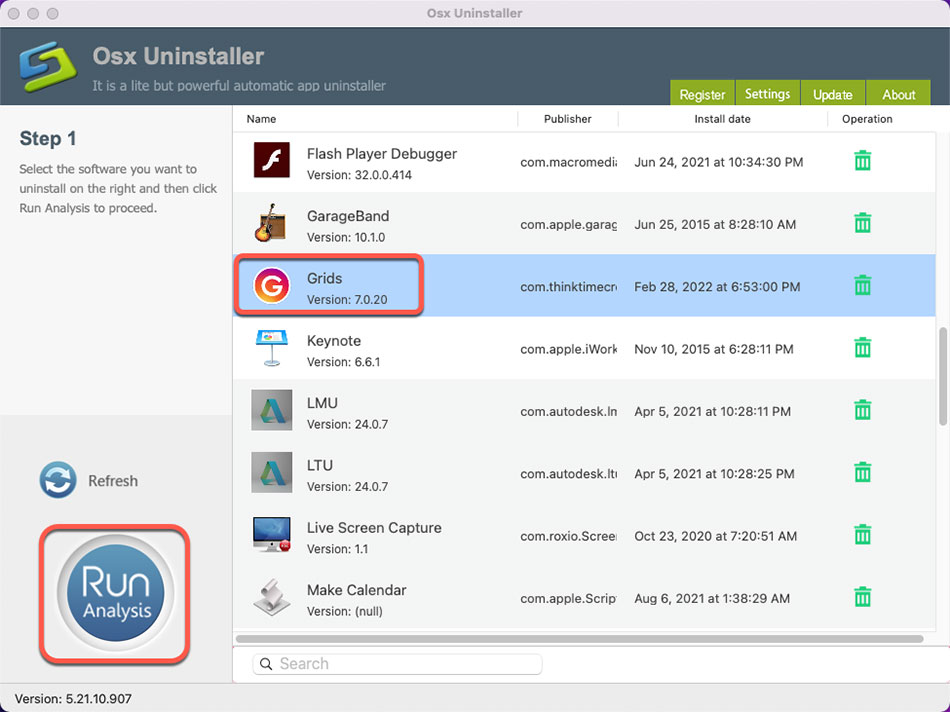
Step 1: The first thing is to confirm if the GRIDS app is quit on your Mac. Then launch Osx Uninstaller app > select the GRIDS app > click Run Analysis. You can get the Osx Uninstaller by clicking the download button listed at the beginning or finish of this post.
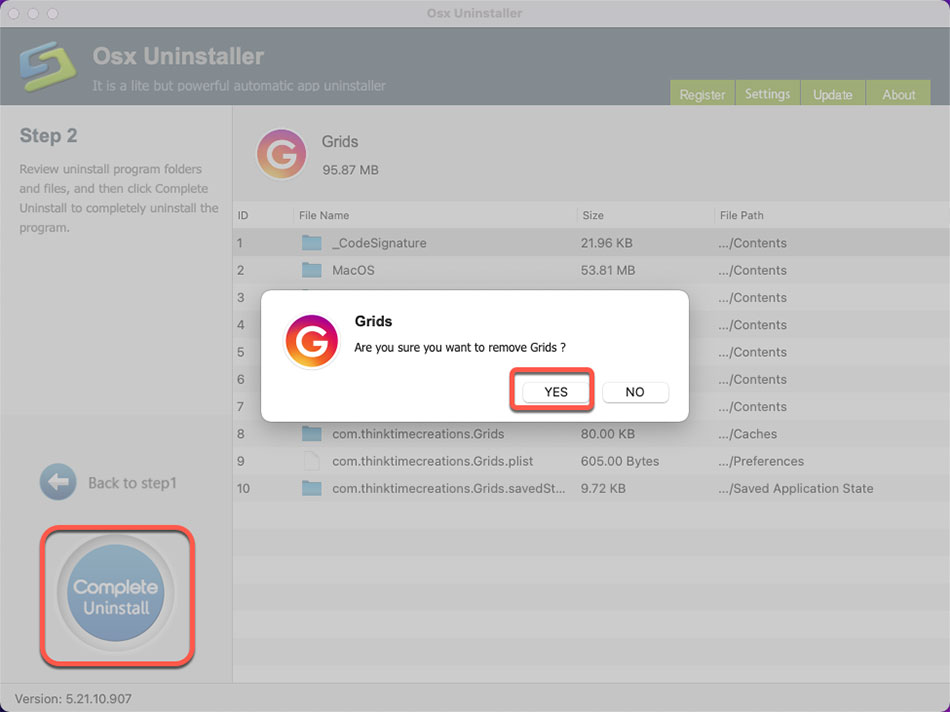
Step 2: Click Complete Uninstall > click Yes.
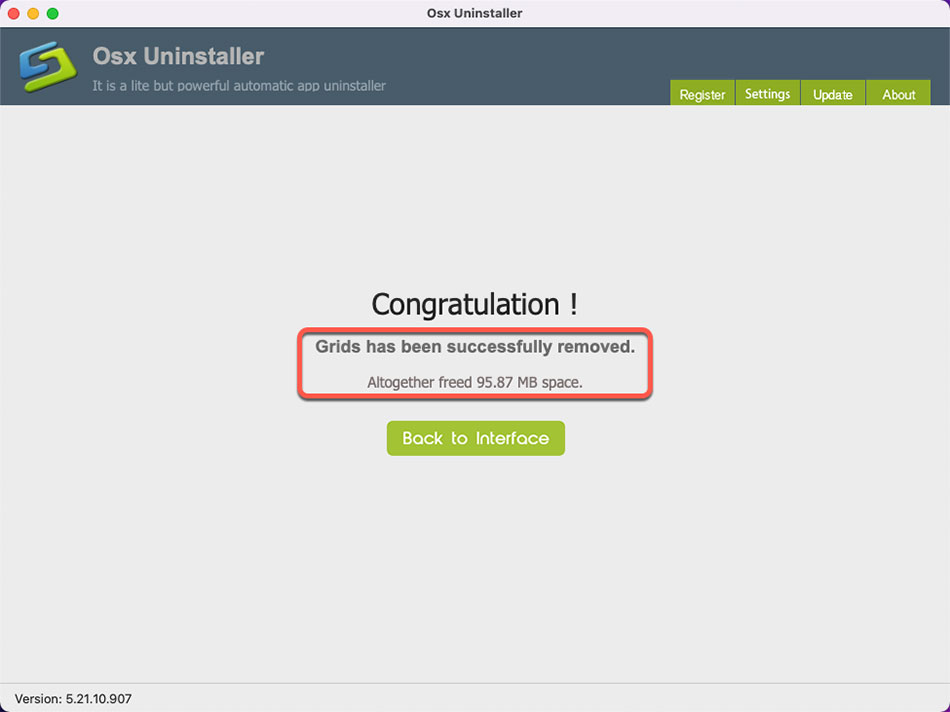
Step 3: Once done, you can see that “GRIDS has been successfully removed.” At last, Restart your Mac to apply the change.
Refer to a simple video guide about using Osx Uninstaller to uninstall GRIDS:
Conclusion
Till now, you may have known everything you can do to uninstall GRIDS for Mac completely. The manual way requires you have a basic understanding of Mac tricks, especially when you have to delete the app’s leftovers in person, including files, folders and entries. However, the Osx Uninstaller tool makes such uninstall app thing much easier, it helps to complete uninstall all leftovers of GRIDS with just a few clicks, you won’t have to be tired of if there are some files still left in your macOS. Just in seconds, Osx Uninstaller can uninstall GRIDS for Mac completely. So, if you want to uninstall any app for your Mac effortlessly, and don’t have to delete leftovers on your own, then we suggest you give this Osx Uninstaller tool a try.
 $29.95/lifetime