How do I Uninstall GeekTool from My Mac
Wanna uninstall GeekTool but it does not appear in the /Applications folder? Have deleted this app yet some of its components seem to be remaining in the system? If you come across these problems when trying to remove GeekTool, check out this tutorial to know how you can properly get rid of GeekTool traces from your Mac.

Hereby we will discuss 4 issues to help you have a comprehensive understanding of removing Mac apps. Meanwhile, you can follow the steps to achieve a clean uninstall.
Issue 1: what to do before the uninstall?
Prior to standard uninstall, you should firstly check if the app you want to uninstall is deactivated or not, as in macOS you are not allowed to delete an app when it is in use.
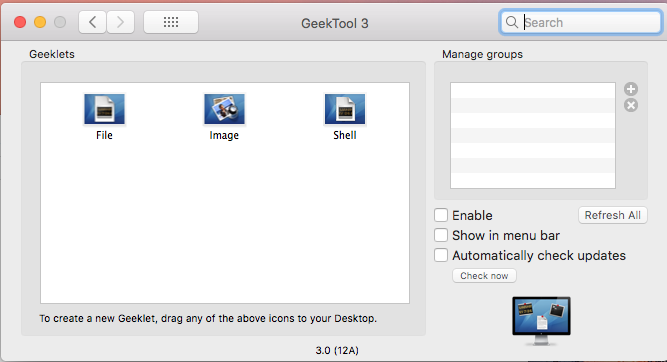
If GeekTool is running, its icon is supposed to appear in the upper right corner of the screen, from where you can access to the app and quit it normally. If you can not find out the app icon but suspect it runs in the background, use one of the options below:
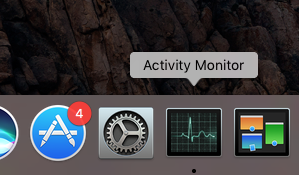
(1) Launch Activity Monitor in Dock, type GeekTool in the search box, then select the process, click X button on the upper left corner, and click Quit in the pop-up dialog
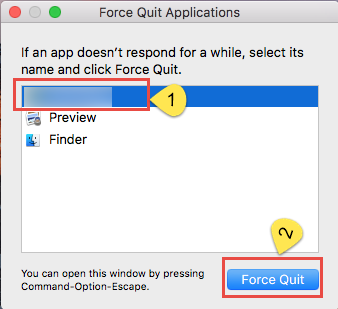
(2) Press Command – Option – ESC(Escape) to bring up the Force Quit Applications window, select the app you want to stop running, and click Force Quit button
After shutting down GeekTool, you can go ahead to carry out the uninstall task.
Issue 2: how to uninstall GeekTool for Mac?
(1) If the version of GeekTool you installed is 3.3 or higher, you should be able to uninstall GeekTool in the /Applications folder, and here are the detailed instructions:
- Click Finder in Dock, and click Applications from the sidebar to open up the folder
- Locate GeekTool, right click on its icon and choose Move to Trash. Alternatively, you can drag the app icon toward the Trash in Dock and drop it into the Trash

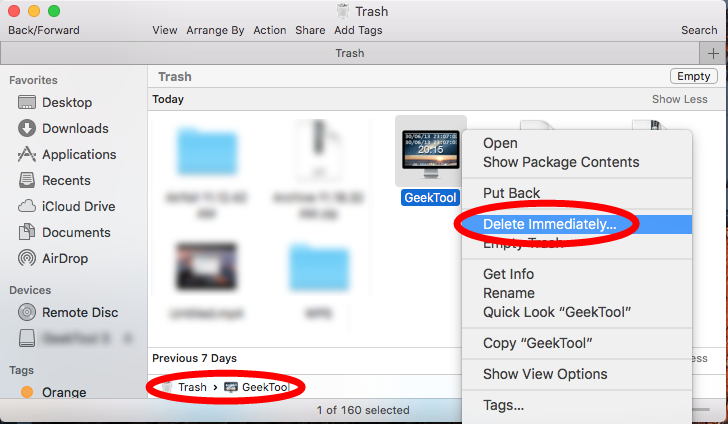
- Open up Trash, right click on GeekTool, choose Delete Immediately, and click Delete button in the pop-up confirmation dialog. Alternatively, you can choose Empty Trash from the Finder menu, to delete anything thrown into Trash permanently
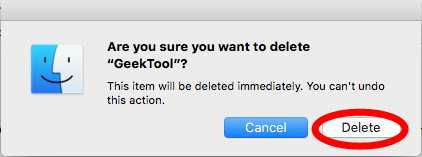
Note that the act of emptying the Trash is irrevocable, so make sure everything in Trash is useless before you empty the Trash. We still suggest you to delete GeekTool alone in the Trash to avoid the risk of mistakenly deleting other files in the Trash.
Besides, there are two alternative ways to manually delete a third-party app on Mac:
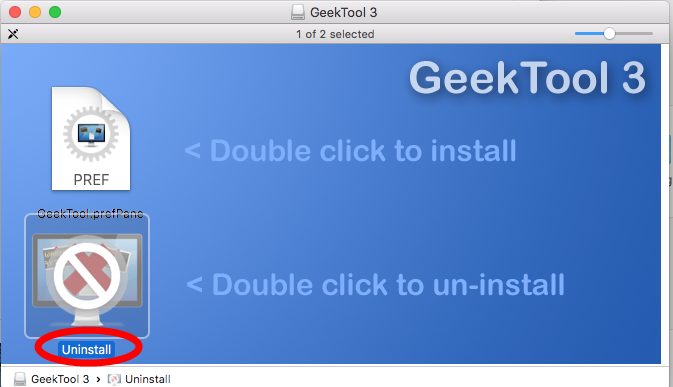
(2)In the previous versions of GeekTool (like v3.0), the app installation file contains a built-in uninstaller, which you can run to execute the uninstallation directly.
- Locate and double click to open up the GeekTool.dmg file, and double click the Uninstall icon to start the removal. Yet, if your macOS is not compatible with this app, you will not be able to launch either the GeekTool or the Uninstall script.
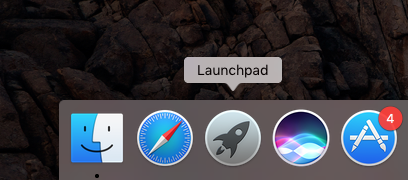
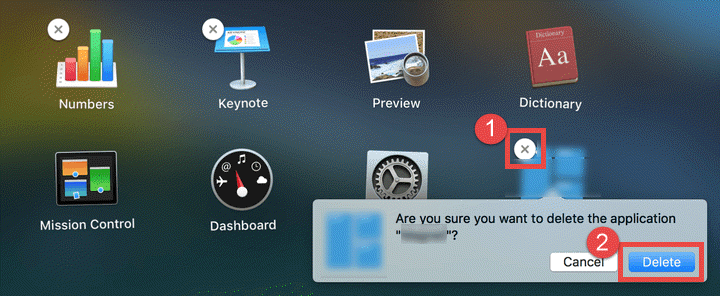
(3) Is the app you want to remove also available in Mac App Store? If you’ve install the App Store version, you can delete this app via the Launchpad. Here’s how to do:
- Head to Launchpad, press and hold the app icon until it starts to jiggle, then click the X icon on the upper left corner of the icon, and click Delete button to confirm.
Issue 3: how to remove GeekTool remnants?
Most third-party apps will create some associated files/folders and store them outside the app package. Those items will not be deleted along with the uninstallation of the app. As a result, you will need to hunt them down around the deep system directories.
Here are the steps to locate GeekTool components hidden in your system:
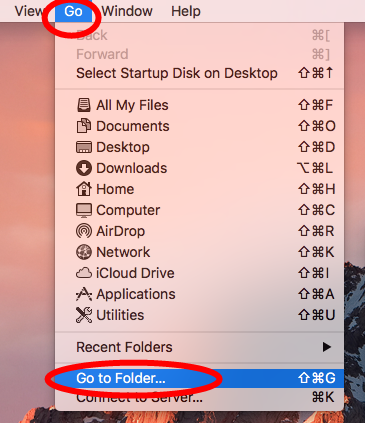
- In an active Finder window, choose Go > Go to Folder from the Menu bar.
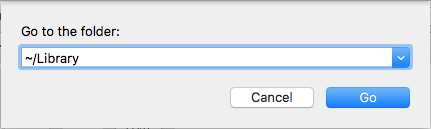
- Type ~/Library in the box, and hit Enter key to access to the hidden folder.
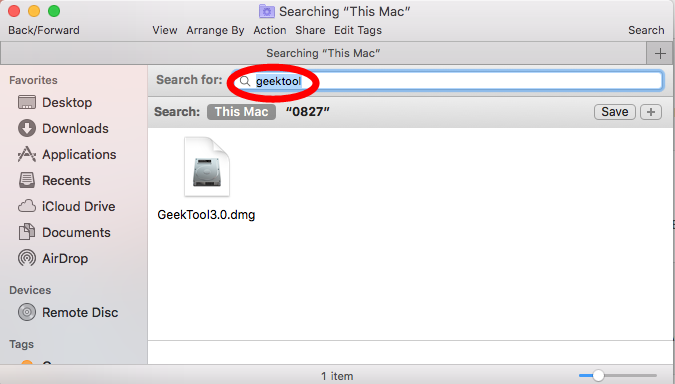
- Click Search in upper right corner of the window, type GeekTool in the search bar
- Click Library under the search box, then select the items that contain the keyword of GeekTool in the search result, right click on any of them, and choose Move to Trash
Again, search for and delete GeekTool-related items in the /Library folder
Here are the directories that may contain the components of GeekTool:
~/Library/Caches, ~/Library/Preferences, ~/Library/Application Support, ~/Library/Saved Application State, ~/Library/LaunchAgents, ~/Library/LaunchDaemons, ~/Library/PreferencePanes, ~/Library/StartupItems
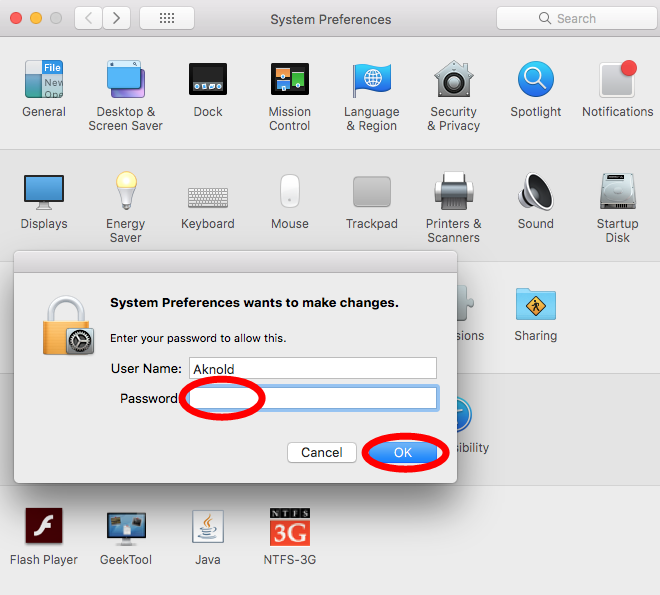
- Besides, you can head to the System Preferences pane and remove GeekTool from there if it still exists.
Once you have deleted all items pertaining to GeekTool, you can empty the Trash to permanently wipe out GeekTool traces. However, it should be pointed out that, some files created by GeekTool may not contain the title of the app or its vendor, so chances are that you may still miss out some of GeekTool-related items in the system.
Wondering if there is a one-stop solution to skip all those manual steps? If you have the same doubt, try to run a professional tool like Osx Uninstaller to get the job done.
Issue 4: how to remove GeekTool without trouble?
Different from other rival on the market, Osx Uninstaller is featured with user-friendly interface, quick response and streamlined process, and it is capable of quickly locating every piece of the target app and removing them within a few blinks.
As the clip shows above, you can take simple steps to fully uninstall GeekTool.
Step 1. Deactivate GeekTool if it is active, and then launch Osx Uninstaller.
Step 2. Select GeekTool, and click Run Analysis to start the scanning.

Step 3. Click Complete Uninstall, and click Yes in the confirmation dialog.
Step 4: Click the Back to Interface button to display currently installed apps.

Here comes the question comes: how can you get this professional uninstaller? Well, you can click the Download button below to get the installation file. Meanwhile, you may have noticed that Osx Uninstaller is a paid software which requires a valid license key to work smoothly. Hesitate to pay money for it? To dispel users’ worries, the vendor promises a full refund if this app fails to solve their uninstall issues.
Is this post helpful for you? Leave your comment or suggestion here.
Having other uninstall issues? You are welcome to contact us and we’re glad to help.
 $29.95/lifetime