Completely Uninstall FileZilla from macOS, This is What you Can do
Still finding some way to uninstall FileZilla from macOS? How could you do that without leaving any remaining on hard drive? Don’t worry, this page provides detailed steps & screenshots to eliminate FileZilla for Mac.

“I have deleted FileZilla on Mac by moving the application into the trash. If I install it again, the app shows me previous sites configurations. Some of them reappear and cannot be deleted in a regular way. Could you please explain how to uninstall FileZilla? This utility is unknown for me and I hope that it‘s not malware, but I can‘t uninstall it anyway.”
About FileZilla
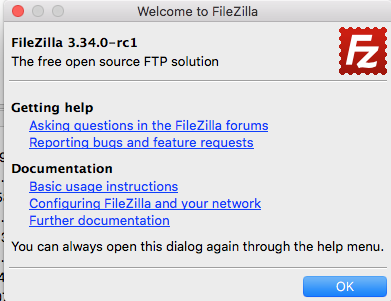
FileZilla is definitely not malware. It‘s an open source FTP utility, which enanles file transferring from a local to remote PC. It provides both client and server versions, each of which offer site management, directory comparison, file and folder view, queue trasfer, and more.
How can I Completely Uninstall FileZilla
Sometimes it may be difficult to uninstall FileZilla. For example, its uninstaller returns an error saying that removal cannot be completed or the app is reinstalled after rebooting the system. Sometimes, you just found many leftovers remained in hard drive, therefore, we are going to explain how to uninstall the app completely.
Options 1. Uninstall FileZilla automatically
We’re going to introduce a new tool to quickly uninstall FileZilla on macOS and Mac OS X, if you want a way that fast, convenient and able to save more time & energy to delete unwanted app, then choose Osx Uninstaller.
Step1. Totally quit FileZilla process
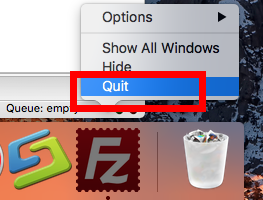
1. Right click on the FileZilla icon on the Dock, then choose Quit;
2. Click the target’s setup on the top left corner, and choose Quit FileZilla (Commend+ Q).
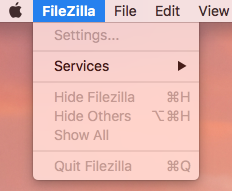
Note: Sometimes the setup button doesn’t work, then try the next fountain to quit FileZilla.
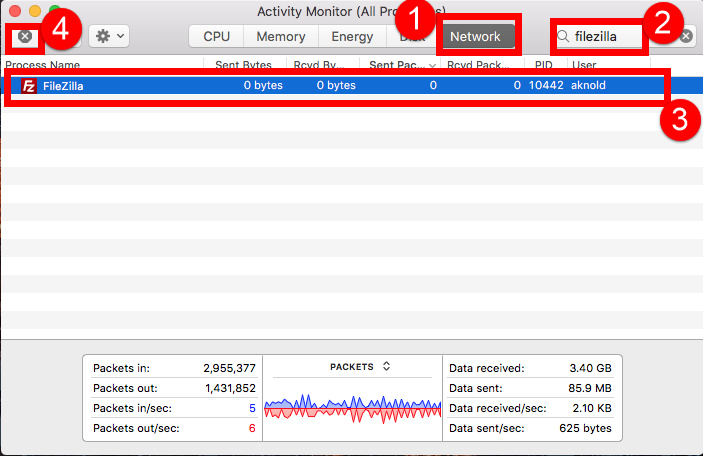
3. Negative Activity Monitor from Finder / Dock, click the Network button, search the key word of FileZilla and then select all running process, then click X on the left, hit Quit to confirm the exit.
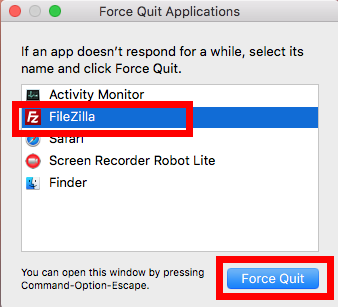
4. If it didn’t work, then try force quit window by pressing shortcuts of Command+ Option+ Esc >> Select FileZilla icon in the window and hit Force Quit.
Step 2. Launch OU to Uninstall FileZilla
Download this tool and run its setup file. Follow the on-screen instructions to install it and then run a scan to uninstall FileZilla completely. You can uninstall all unwanted apps using this utility. This way, you will not only save your precious time, but will also ensure the right removal of software.
Follow the instruction here:
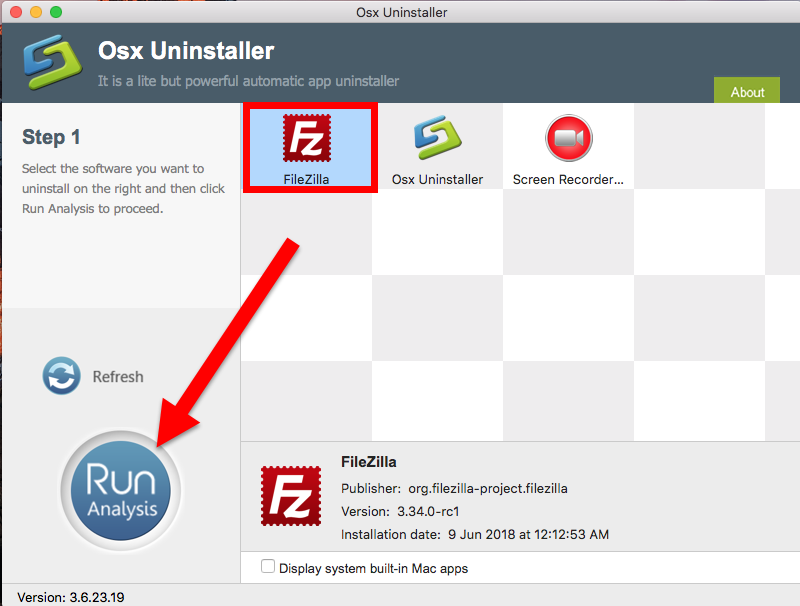
1. Launch the app and select FileZilla in the list, easily click on the green button “Run Analysis”;
2. Then, the uninstaller will analysis the target app as fast as in a few seconds later, click the button “Complete Uninstall” when all the related folders and flies appeared in the list;
3. The tool will easily delete all the related folders and flies scanned in Step 2, now back to Step 1, FileZilla are gone from the list.
Also, we provide the complete video tutorial to remove FileZilla:
Option 2. Remove FileZilla Manually
We offer the basic method to uninstall FileZilla in manual approach if you need, and follow the guideline to remove it step by step.
Step1. Totally quit FileZilla process
Same as Option 1 to completely shut down all process of FileZilla, then you could do the next step.
Step2. Drag it into Trash
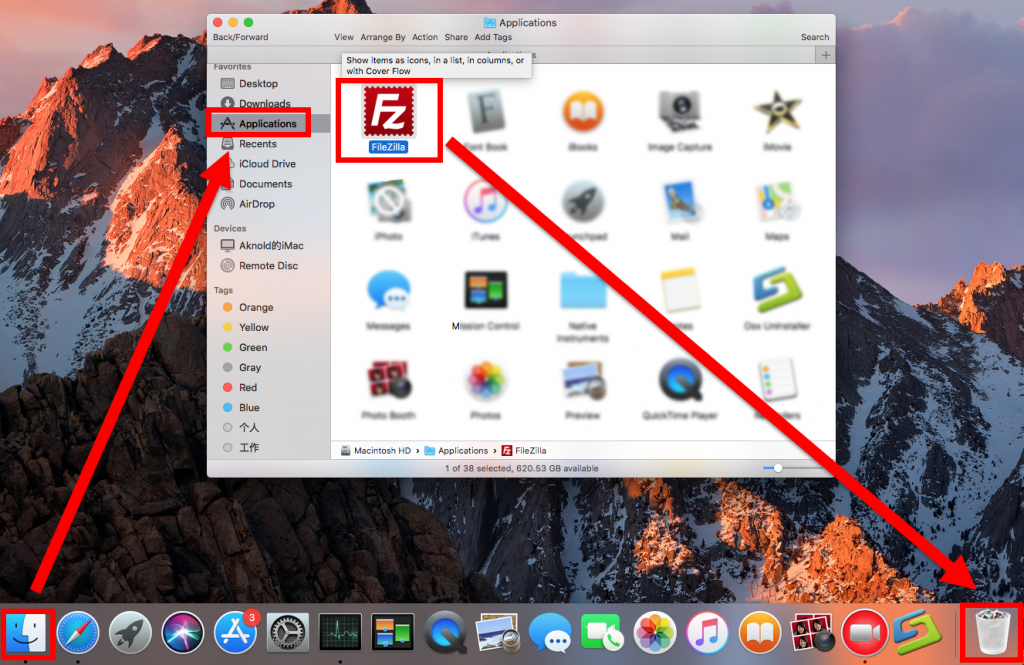
- Click Finder icon in the Dock > Applications.
- Find FileZilla you want to uninstall, drag it to the Trash.
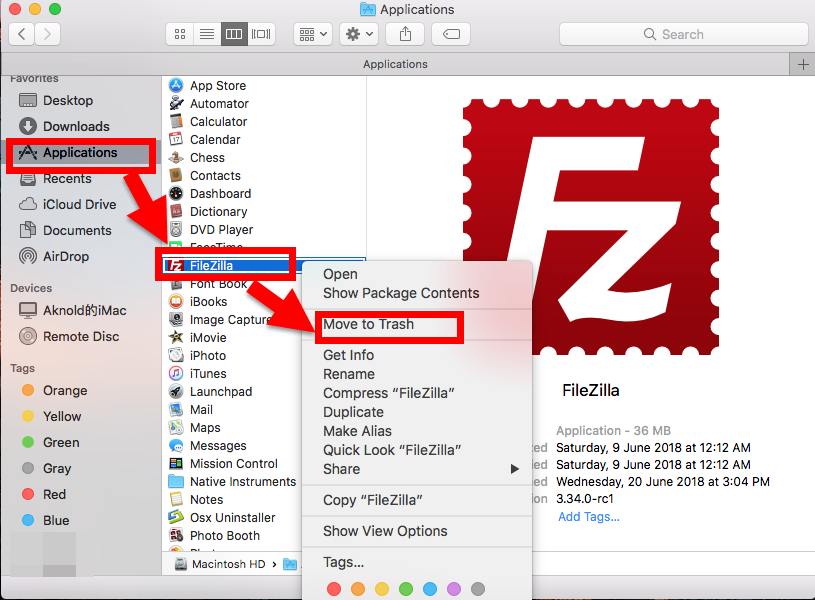
- Or right click on it to choose Move to Trash.
Step3. Remove leftovers
- Launch Finder;
- Scroll cursor to Go > click Go to Folder…;
- Type ~/Library in the Go to Folder box and hit Enter key to open it;
- Next type the key word FileZilla, Select “Library”;
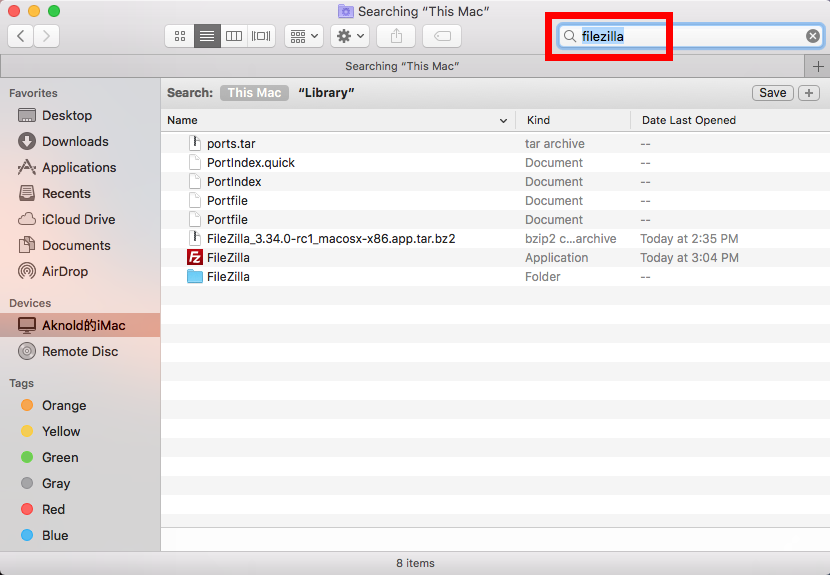
- Then right click all the target items in the list to Move to Trash;
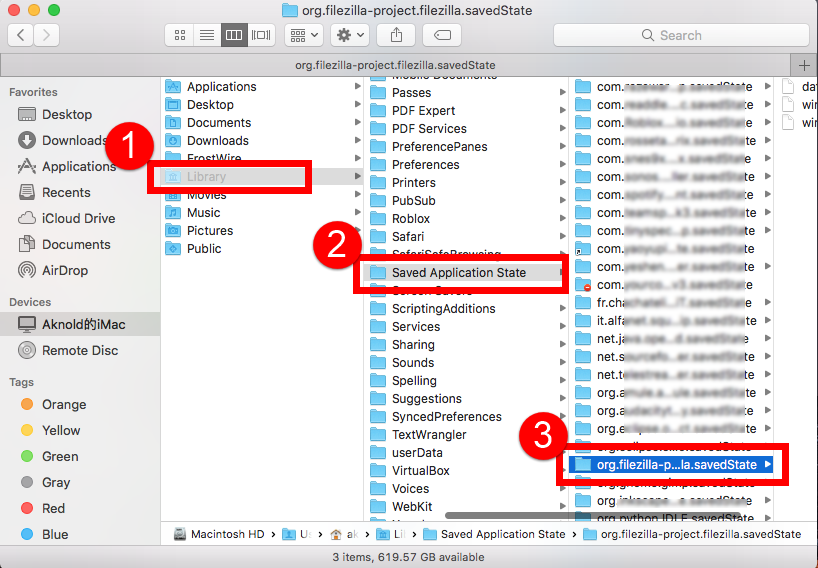
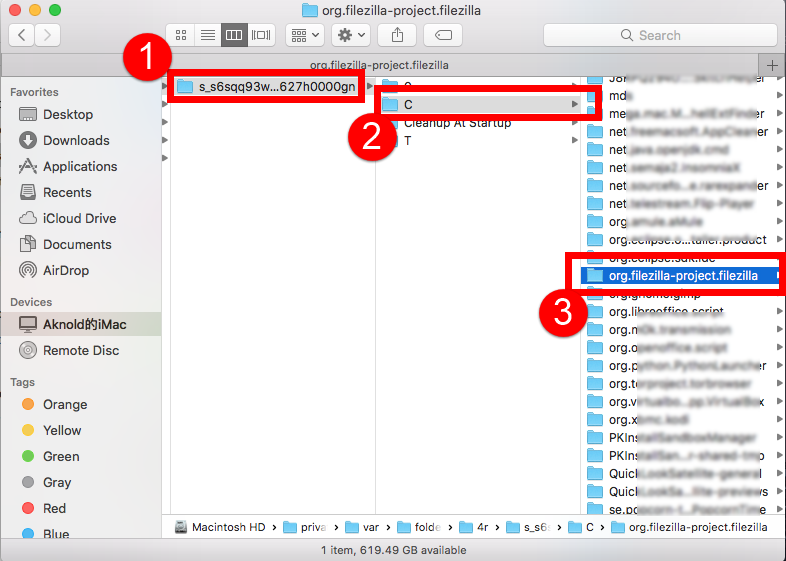
Note: Not exaggerate at all, it might store in many other folders in Library more than you imagine:
- ~/Library/Application Support
- ~/Library/ Saved Application State
- ~/Library/Preference
- ~/Library/Caches
- ~/Library/Logs
- ~/Library/C
More tips: How to Show Hidden Files in OS X
We offer more tips to use OS X or uninstall application on macOS, in this post, we will offer the way to show hidden files in macOS. Just like in Windows, OS X also hides things, so if you want delete, first is to find them then you can delete them.
Next, follow the instruction to how to show hidden files on macOS and Mac OS X.
- Copy this command into Terminal* (new window click to find out where Terminal is):
defaults write com.apple.Finder AppleShowAllFiles TRUE
- Then restart finder by typing this command into terminal:
- killall Finder
- When your done working with your hidden files and folders simply reverse the command to hide hidden files again.
defaults write com.apple.Finder AppleShowAllFiles FALSE
- Once again restart Finder with the following command:
- killall Finder
- Here is what your home directory normally looks like:

- Your home folder with hidden files shown:

More information please visit this post.
 $29.95/lifetime