How to Properly Uninstall Bitdefender Antivirus for Mac
Have no clue how to uninstall Bitdefender Antivirus for Mac? Cannot move Bitdefender to Trash by a simple drag-and-drop move? For anyone who are confused about how to get rid of this app, refer to this guide to get the proper uninstall steps.
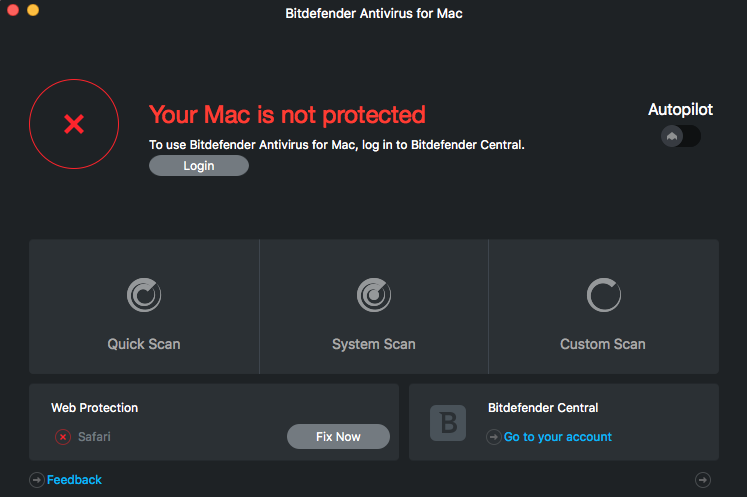
Bitdefender Antivirus is a competent malware and antivirus solution which gets top marks from independent AV labs. Yet if you want to switch to another antivirus software, or you simply want to perform a fresh re-installation, the first thing you need to do is to effectively uninstall Bitdefender Antivirus for Mac. Continue reading.

Issues you could run into when deleting Bitdefender Antivirus:
- Once launches, Bitdefender Antivirus cannot be quit from the Menu Bar.
- There only exists the alias of Bitdefender Antivirus in the Applications folder.
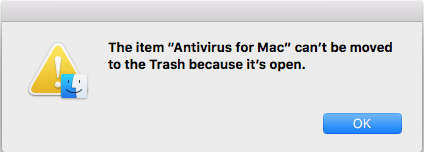
- Bitdefender Antivirus for Mac cannot be moved to the Trash because it is open.
- Items pertaining to Bitdefender Antivirus cannot be found by simple search…
Easy Way to Remove Bitdefender Antivirus for Mac
Wondering how to uninstall Bitdefender Antivirus painlessly? Take a quick look at the handy tool here. Osx Uninstaller is a lightweight yet powerful utility designed to help Mac users to remove any problematic, stubborn or malicious apps. To thoroughly uninstall Bitdefender Antivirus by using Osx Uninstaller, you just need to take 3 steps: launch > select > uninstall. Now watch the video clip to know how it works.
- 1. Quit Bitdefender Antivirus (or reboot your Mac), and then launch Osx Uninstaller.
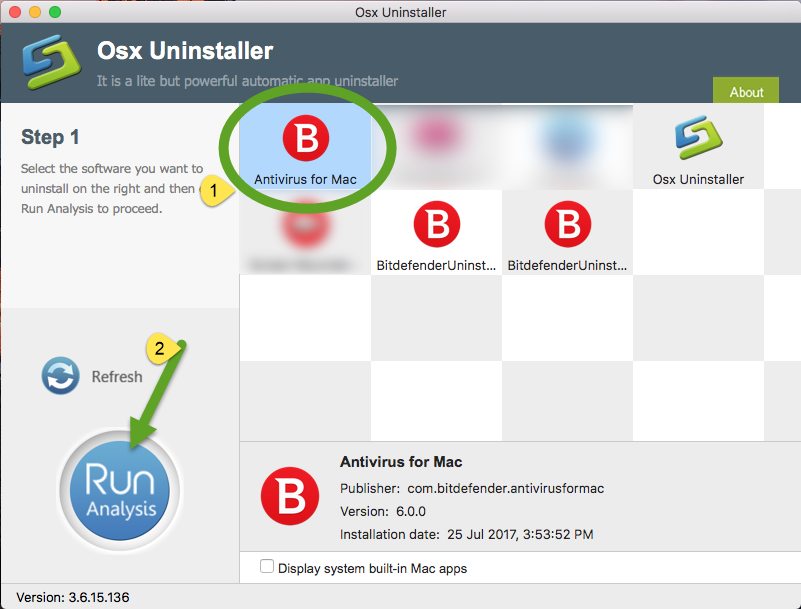
- 2. Select Bitdefender Antivirus, and then click Run Analysis to start scanning.
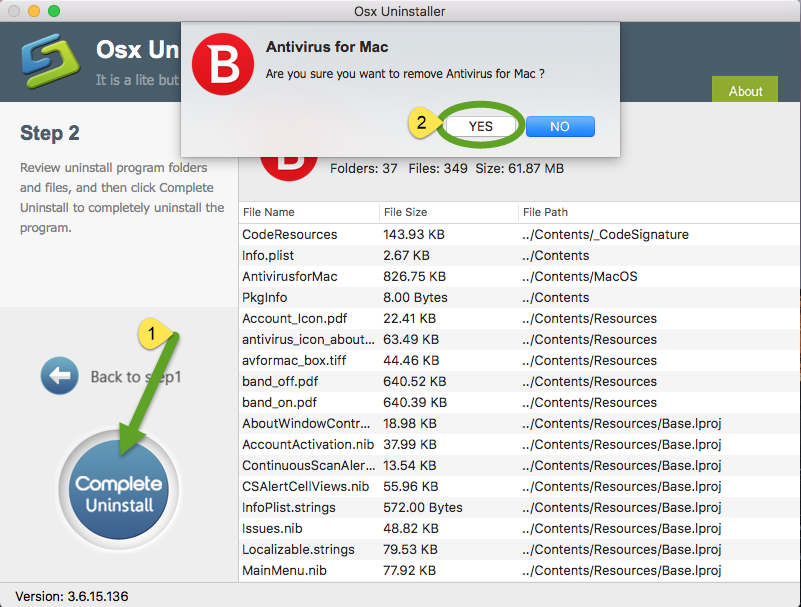
- 3. Review the components that are scanned out from your system, click Complete Uninstall and then Yes in the pop-up dialog box to perform the uninstall.
- 4. Once the removal is complete, click Back to Interface button to re-scan your Mac.
Normally, Bitdefender Antivirus could be totally deleted after the uninstallation process. But if it has been corrupted or uninstalled incompletely before, you are supposed to fix the software by re-installation, and then carry the quick uninstall.
A reputable uninstaller guarantees a clean, complete uninstall. Give it a try now?
Correct Steps to Manually Uninstall Bitdefender Antivirus
Some users used to delete an app by trashing it from the Applications folder. However, when you are dealing with Bitdefender Antivirus, that option fails to work effectively. First of all, once launches, Bitdefender Antivirus will not be stopped from running, even via the Activity Monitor. Second, the Bitdefender Antivirus icon that appears in the Applications folder is only an alias for the app. Even you have located the app itself in Finder, you still cannot move the app to Trash as it is currently running on the background.
Osx Uninstaller spares you from endless manual work and potential issues during the uninstallation of unwanted apps. Yet if you still wanna try to uninstall Bitdefender Antivirus without this handy tool, make sure to follow the correct steps listed below.
Part 1: Run Bitdefender Antivirus uninstaller
Now make sure that you have logged into with an administrator account, and you might be asked for the admin password again during the manual uninstall process.
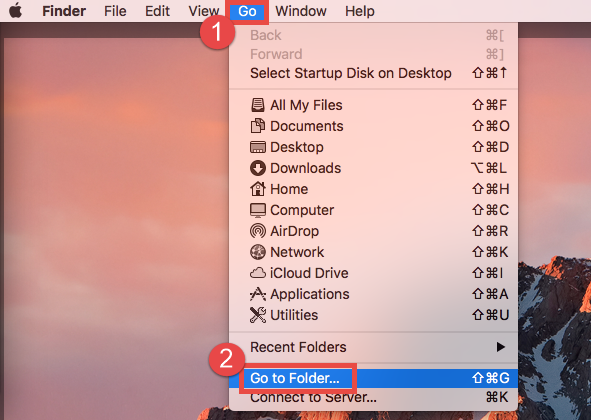
- Open Finder, and head to Go > Go to Folder from the Menu Bar.
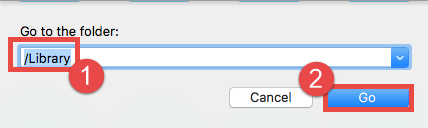
- Type /Library in the box that appears, and hit Enter/Return key to open it up.
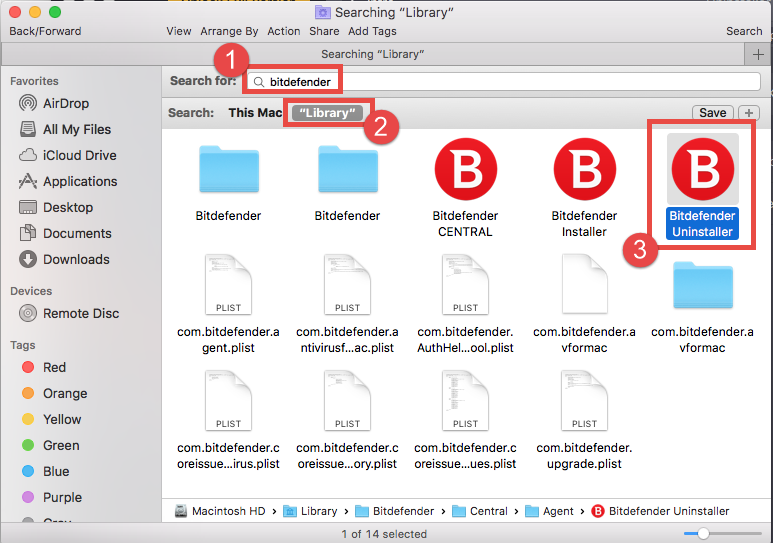
- In the Library folder, click the Search on the upper right corner, then type Bitdefender in the Search bar, and click “Library” again to show up the result.
- Locate the Bitdefender Uninstaller, and double click to run this application.
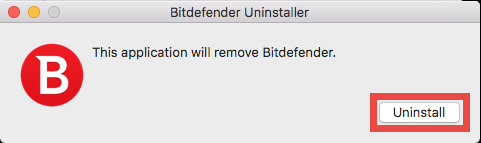
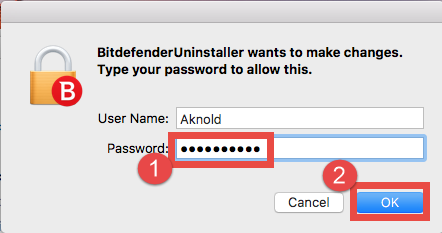
- Click Uninstall button in the pop-up dialog, and when prompted, type the current admin password in the confirmation box, and click OK to allow the change.
It may take a little time to uninstall Bitdefender Antivirus from your Mac. Besides, if you still keep the Bitdefender Antivirus installation package, you can take this way:
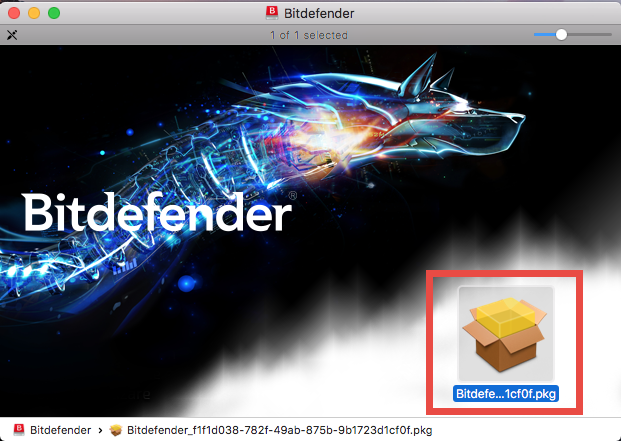
- Double click to open up the Bitdefender .dmg file in the Finder.
- Double click to open up the Bitdefender .pkg file in the new window.
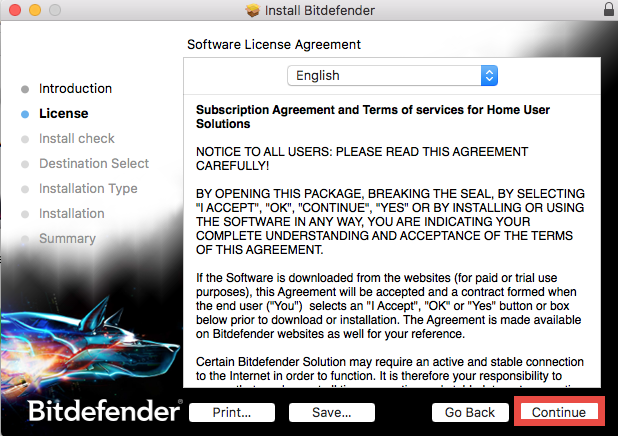
- Click Continue twice, and click Agree to continue the procedure.


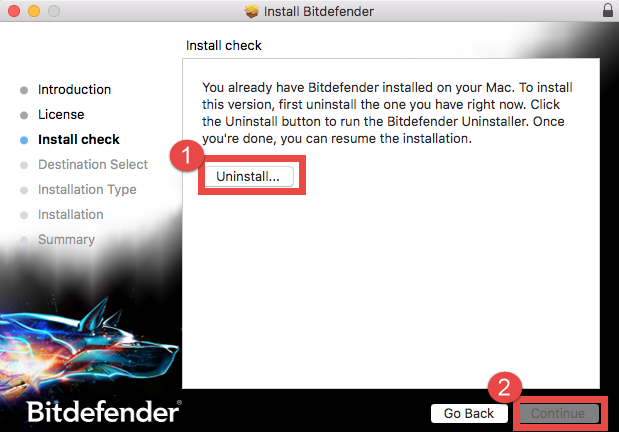
- Click Uninstall and then Continue to run the Bitdefender uninstaller.
- Click Uninstall again, and type the password to remove Bitdefender Antivirus.
After deleting Bitdefender Antivirus, you can delete its leftovers remaining on Mac.
Part 2. Remove Bitdefender-related items
Most Mac apps are bundle software that can be easily removed by aforementioned method. Yet some of them will create components like preference, cache and support files in different system directories during the first setup and daily usage. If you want to perform a clean uninstallation, it is necessary to delete all related components scattered around the system. Here’s how to clear up app remnants manually:
- Open the Finder, click the “Go” from the Menu Bar, and select Go to Folder…
- Type the path of the top level Library on hard disk: /Library, and hit Enter key.
- Search for the files or folders which contains the name of target app or the vendor in the following locations and delete the matched items: /Library, /Library/Caches, /Library/Preferences, /Library/Application Support, /Library/LaunchAgents, /Library/LaunchDaemons, /Library/PreferencePanes, /Library/StartupItems
Warming: deleting the wrong items from Library could do harm to your other apps or even system, so make sure to be very careful what you try to delete. Meanwhile, it could be time-wasting going through each folder and searching for app leftovers. Luckily, you can make use of the Search in Finder to hunt down associated files.
- Go ahead to open up the user library inside home folder: ~/Library.
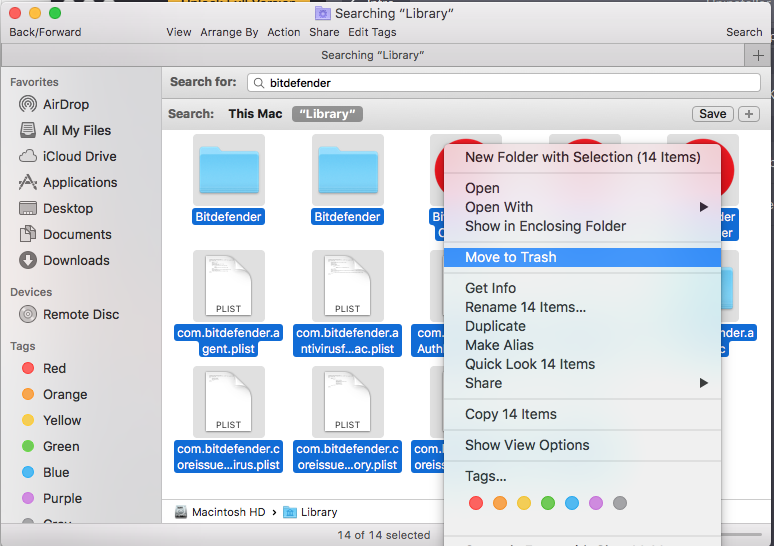
- Type the name of target app or its vendor in the Search Bar, and click on Library.
- Identify the matched items, right click on them and choose Move to Trash option.
If there are still some files you fail to locate or identify, do a web search about the app components. Besides, advanced users can utilize the Terminal (located in /Utilities folder) to list the contents of the directory in question and then delete offending items.
Part 3: Empty the Trash (with caution)
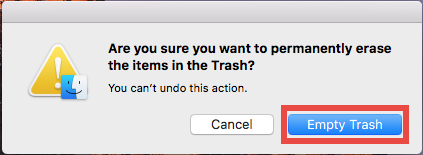
After moving all associated items to the Trash, you can carry out the last step – emptying the trash. Notice: the act is irrevocable, and everything in the Trash will be deleted immediately, so be very cautious when you are performing this part.
- Right click on the Trash icon in the dock.

- Choose Empty Trash and click OK in the pop-up dialog.
Now you have reached the end of manual removal. To uninstall Bitdefender Antivirus manually require not only patience but also adequate knowledge and skills. On the contrary, an automated uninstaller will save a lot of trouble and much time.
Does this tutorial help solve your uninstall issues? Are you able to totally remove Bitdefender Antivirus for Mac? Feel free to share your comments with us here.
 $29.95/lifetime