How to Totally Uninstall Dr. Cleaner on Mac (Solved)
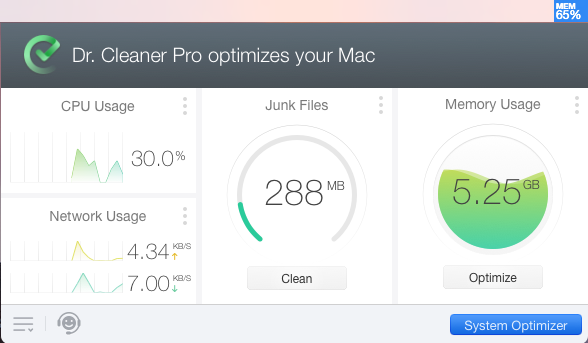
Dr. Cleaner is a free cleaner utility developed by Trend Micro for Mac users. Installing this software could be quite easy but when you decide to uninstall Dr. Cleaner from your Mac, are you sure you know the correct steps to do so?
Here are some issues many users encounter when trying to uninstall Dr. Cleaner:
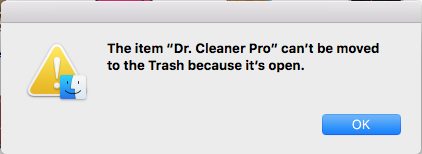
> Dr. Cleaner cannot be deleted to the Trash because it is open;
> Uninstalling Dr. Cleaner does not undo the changes made by the installation;
> Remnants pertaining to Dr. Cleaner are difficult to locate or delete…
So how to solve the issues and ensure a clean uninstall? In this post we will discuss the proper uninstallation through the following four questions. Read on to know more.

Question 1: what to do before uninstalling an app?
Here is the preparation you should do before uninstall an app: make sure the target app as well as its process(es) stop running on the background. If Dr. Cleaner still runs on the background, you won’t be able to remove this app from your system.
Typically, there are three options to quit a target app (and its background process):
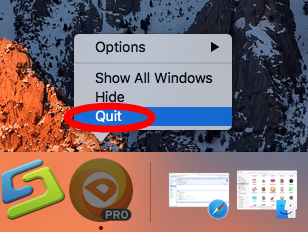
1. Right click on its icon on the Dock, and choose the Quit option;
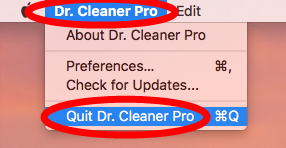
2. Click the Dr. Cleaner icon in the Menu Bar, and choose Quit Dr. Cleaner;
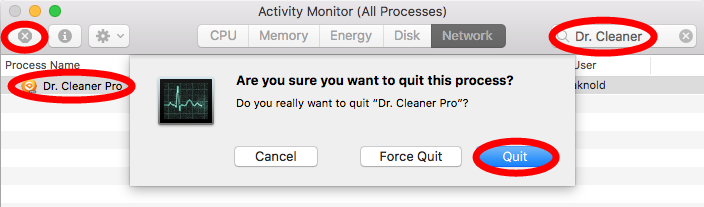
3. Launch Activity Monitor, select the process whose name contains Dr. Cleaner, click the X button on the upper left corner, and click (Force) Quit in the pop-up dialog.
What if the target app refuses to be force quit even by this way? You can reboot into Safe Mode to prevent the automatic launch, and then perform the uninstall normally.
After shutting down the app completely, you can proceed to delete Dr. Cleaner from the /Applications folder, and then delete its traces around your whole system.
Question 2: how to uninstall Dr. Cleaner for Mac?
Once installed properly, most apps can be uninstalled by the delete-to-trash way, and the trashing method works in all versions of Mac OS X. Here are the detailed steps:
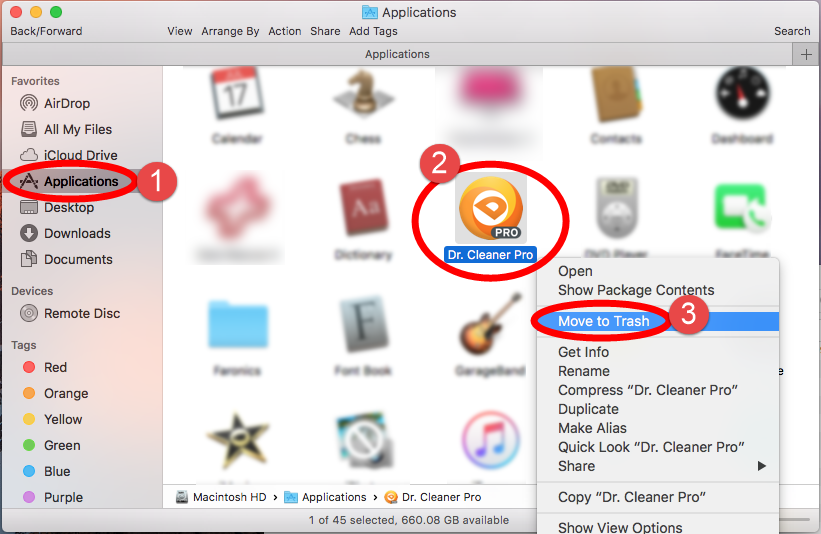
- Launch Finder, head to /Applications folder, and locate Dr. Cleaner folder.
- Right click on Dr. Cleaner icon and choose Move to Trash option.
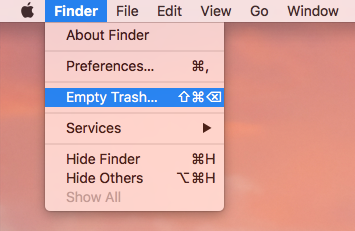
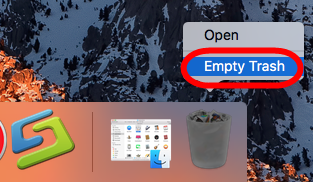
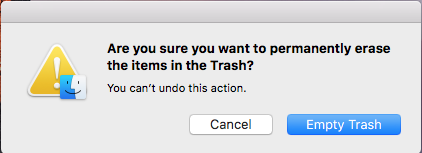
- Head to the Finder menu and choose Empty the Trash to execute the uninstall.
Warning: Be cautious when you are going to empty the Trash. This act will instantly remove all the files you’ve thrown into the Trash, and it is irrevocable. Besides, you can choose to perform this step after trashing all the app leftovers you’ve found.
If you installed Dr. Cleaner via Mac App Store, you can adopt this way to uninstall it:
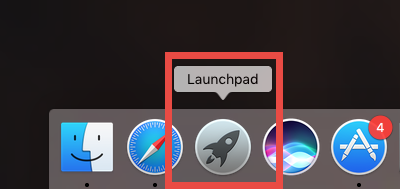
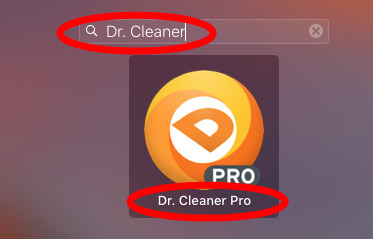
- Click Launchpad icon in Dock, and type Dr. Cleaner in the search box on the top.
- Click and hold the Dr. Cleaner icon in the search result, and when the icon starts to jiggle, click the X that appears in the upper left corner of Dr. Cleaner icon.
- Click Delete button in the pop-up dialog to execute the uninstall.
Apps installed in the Mac App Store can be uninstalled by this method. Once you click the Delete button, Dr. Cleaner app will be instantly removed from the system.
In this section we list two available ways of uninstalling Dr. Cleaner. Have you totally got rid of Dr. Cleaner after doing these steps? Not yet. Now head to the next section.
Question 3: how to delete Dr. Cleaner leftovers?
Though Dr. Cleaner has gone from the /Applications folder as well as Launchpad, some of its components created during the the first setup or daily usage may still remain on your system. Experienced users may have been adept in detecting app components in the hidden system directories. But if you are a Mac beginner, you can follow the instructions below to remove all items belonging to Dr. Cleaner.
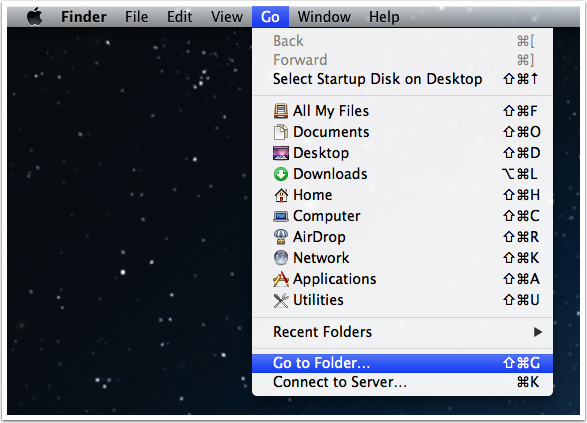
- Open the Finder, click Go in the Menu bar, and choose Go to Folder.
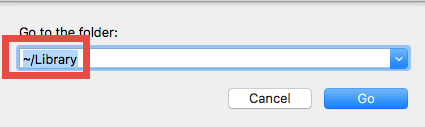
- Type ~/Library in the Go to Folder box, and hit Enter key to access to it.
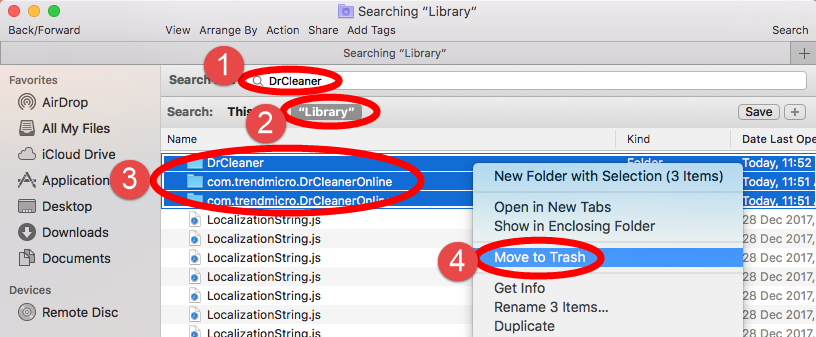
- Click the Search icon in the upper right corner of the Finder window, type DrCleaner (or Trend Micro) in the search bar, and then click Library under the bar.
- Identify the matched items in the search result, and remove them to the Trash.
Here are the directories that may contain app leftovers: ~/Library/Caches, ~/Library/Preferences, ~/Library/Application Support, ~/Library/Saved Application State, ~/Library/LaunchAgents, ~/Library/LaunchDaemons, ~/Library/PreferencePanes, ~/Library/StartupItems
- Again, search for and delete Dr. Cleaner-related items in the /Library folder.
- Finally, empty your Trash to permanently get rid of Dr. Cleaner components.
It should be pointed out that, some app components may not contain the name of the app or the developer, so chances are that you still fail to track down all of the app traces through the Search feature. In this case, we suggest anyone who would like to save some trouble to run a professional tool to handle the deletion once and for all.
Question 4: is there a way to quickly remove Dr. Cleaner?
Looking for a quick way to uninstall Dr. Cleaner? A handy, reliable uninstaller may be a necessity if you frequently install and uninstall various apps on your Mac. But among so many similar products in the market, which one is the most suitable one for you?
Featured with rather intuitive process and highly developed engine, Osx Uninstaller stands out as a handy tool to help Mac users remove problematic, stubborn and malicious apps in seconds. Watch the video clip to know how it works to uninstall Dr. Cleaner:
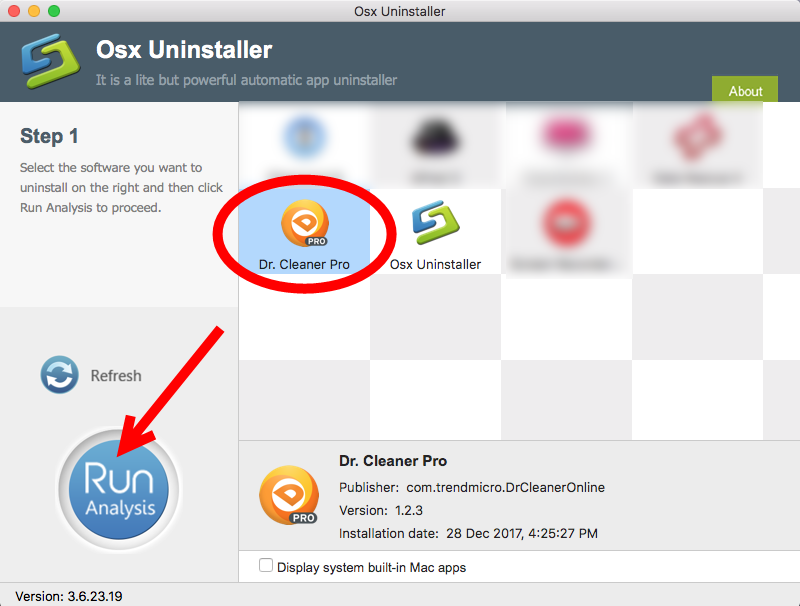
- Step 1. Quit Dr. Cleaner first, and run Osx Uninstaller from Launchpad.
- Step 2. Select Dr. Cleaner, and click Run Analysis to start the scanning.
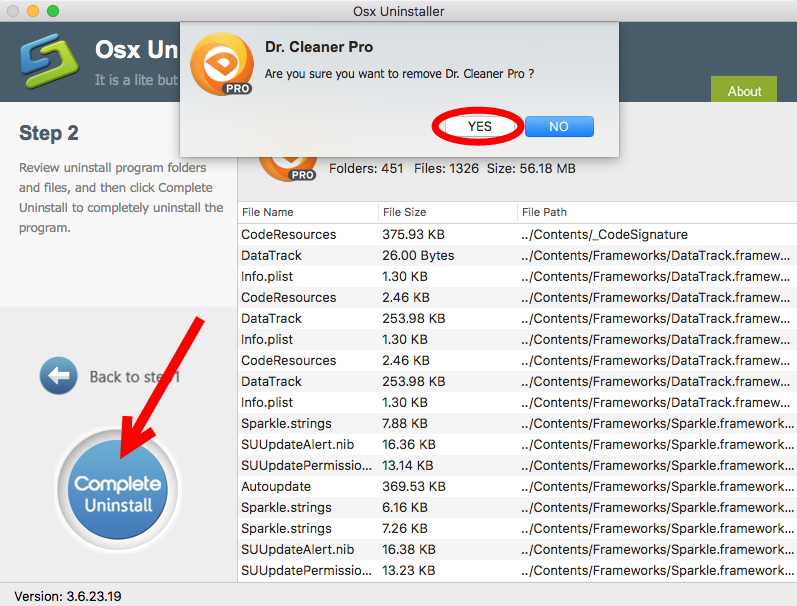
- Step 3. Click Complete Uninstall, and click Yes in the confirmation dialog.
- Step 4: Click the Back to Interface button to display currently installed apps.
As Dr. Cleaner disappears from the OU interface, click to quit Osx Uninstaller. And that’s it. The whole uninstall process takes almost less than one minute to complete.
After reading through this post, you should have a comprehensive understanding about app removal on Mac computer. To manually uninstall Dr. Cleaner requires a little more patience and skills. On the contrary, utilizing a powerful uninstall tool like Osx Uninstaller definitely save your valuable time and avoid potential troubles (though you have to pay for the service). Agree? Time to make your choice.
 $29.95/lifetime