Proper Solutions to Remove WebKit for Mac with Ease
Have problem when use WebKit on macOS, and want to remove WebKit for Mac? This page might help a lot to easily get rid of this thing in Mac OS X, keep reading to learn more helpful tips & steps.

From webkit.org: Leopard WebKit is a nightly channel build of WebKit for Macs running Mac OS X 10.5. It is the only PowerPC browser to fully support H.264 and Grooveshark Mobile. To extend multimedia capabilities including AirPlay install ClickToPlugin.

“My Mac will crash when opening Safari, Software Update, and now Proteus 4 which I just tried. When opened with Terminal, they all give this error:
FATAL ERROR: <WebTextRenderer: 0x540e070>: Don’t know how to pack glyphs for font (null) 0.000000
(WebCoreSupport.subproj/WebTextRenderer.m:304 -[WebTextRenderer initWithFont:usingPrinterFont:])
Segmentation fault
I’m trying to avoid the ever popular System reinstall.”
If you have this problem, how could you successfully remove WebKit from macOS and Mac OS X then? I recommend that uses try third party remover for macOS as much as possible.
There are mainly four parts in the tutorial:
1. How to totally quit WebKit from macOS
2. How to remove WebKit with removal tool (automatic)
3. How to remove WebKit with Mac Trash (manual)
4. More tips: How to disable the WebKit default home page
If you want to remove WebKit, then follow the first three tips to uninstall it step by step. Choose one way that most perfect for you.
1. How to totally quit WebKit from macOS
No matter you use manual or automatic process to remove WebKit, that you must firstly quit it from the background working. Follow different solutions to close WebKit and related process.
Quit Kindle from Dock Bar:
- Right click on the WebKit on the Dock, then choose Quit;
Or use Commend+ Q:
- Click the target’s setup on the top left corner, and choose Quit WebKit (Commend+ Q).
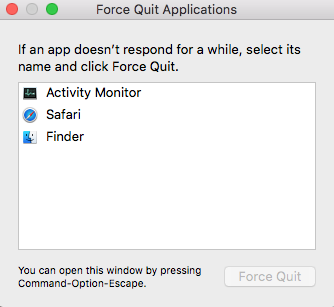
Or Launch Force Quit Window:
- Quit WebKit or force quit it by pressing the Cmd + Opt + Esc combination;
- In a pop-up window, select the app and click on the Force Quit button;
Negative Activity Monitor:
- Open the Utilities folder and launch the Activity Monitor;
- Click on the All Processes tab and select processes associated with WebKit;
- Click on the Quit Process icon;
- In a pop-up window, click on the Quit button to confirm the action.
2. How to remove WebKit with removal tool (automatic)
To quickly & safely remove WebKit for Mac, I think you need a high-efficient removal tool, Osx Uninstaller is quite magic software that easily works to completely remove any unwanted target. Only with three simple steps, this remover uninstalls WebKit thoroughly as fast as you think.
Now follow the instruction:
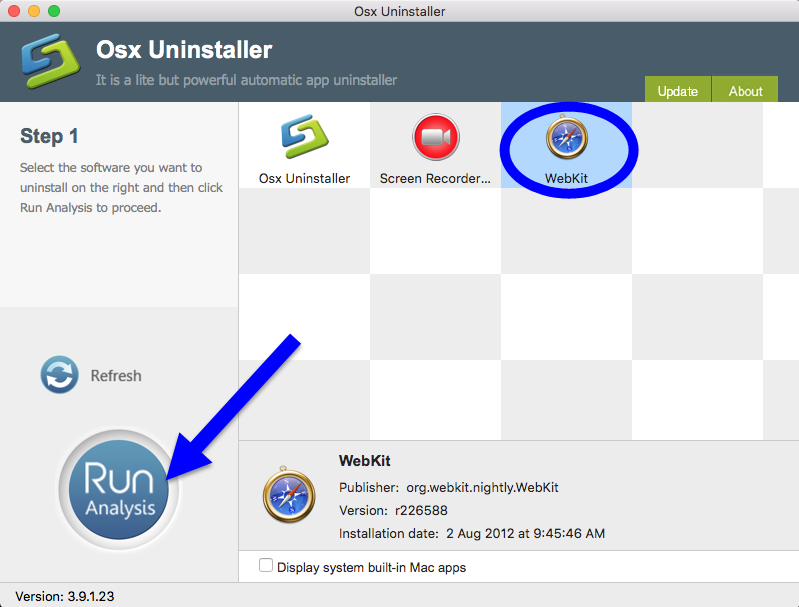
- Step 1. Select WebKit which you need to remove in the list, easily hit Run Analysis button;
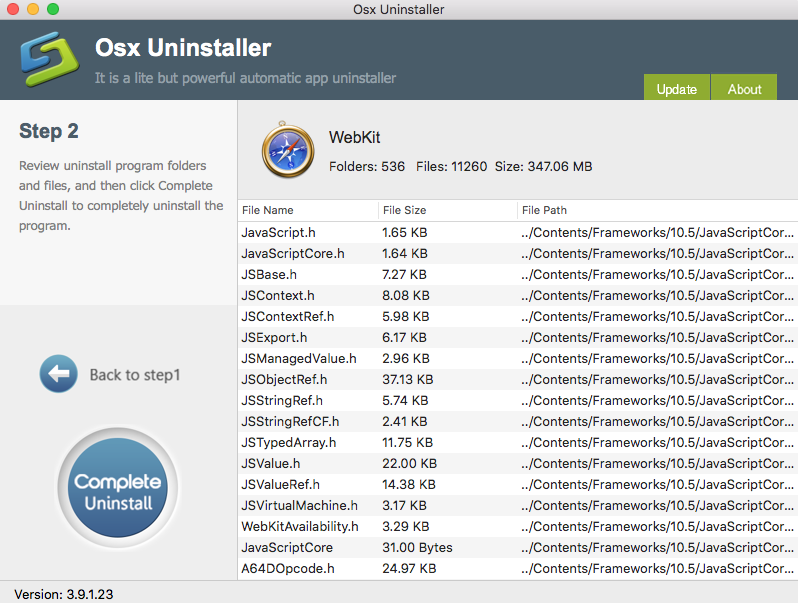
- Step 2. Then, the uninstaller will analysis the target app as fast as in a few seconds later, click the button “Complete Uninstall” when all the related folders and flies appeared in the list;
- Step 3. The tool will easily delete all the related folders and flies scanned in Step 2, now press Back to Step 1 and click Refresh, WebKit is gone from the list.
3. How to remove WebKit with Mac Trash (manual)
There’s a traditional method to remove WebKit that most people use it every day. However, it is the way that has more problems during removal, so be careful when you try.
Step 1. Drag it into Trash
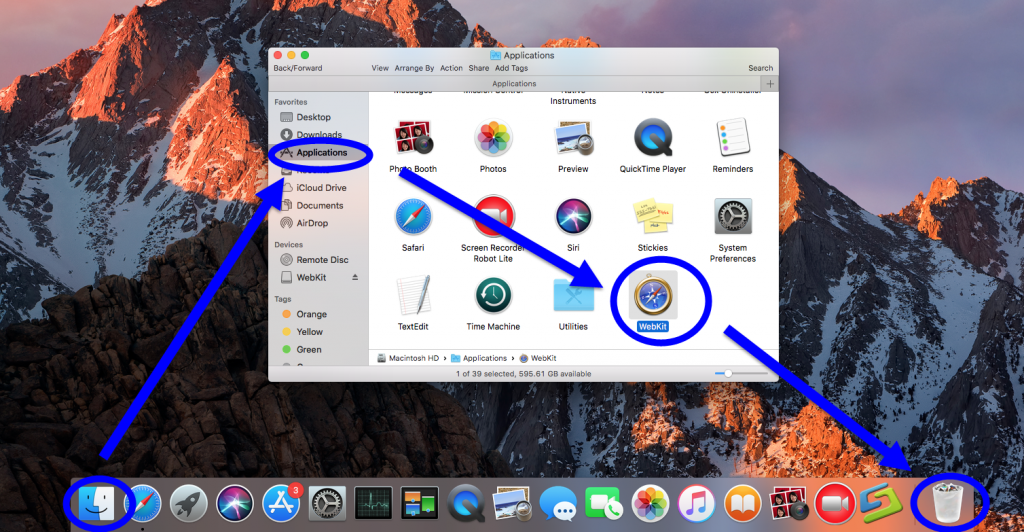
- Easily launch Applications >> Finder from Dock;
- Simply locate WebKit in the Applications folder
- Right-click, and select Move to Trash / Drag it straightly into Trash on Dock;
- The application is uninstalled.
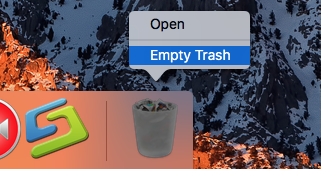
- Now either right-click on the Trash icon and select “Empty the Trash,”
- or open Trash and click on “Empty” at the top-right corner, then confirm.
Step 2. Delete Associated Files of WebKit
First you’ll need to:
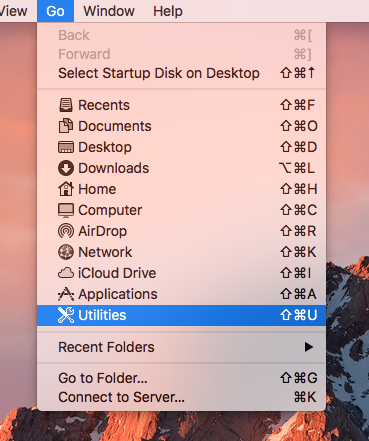
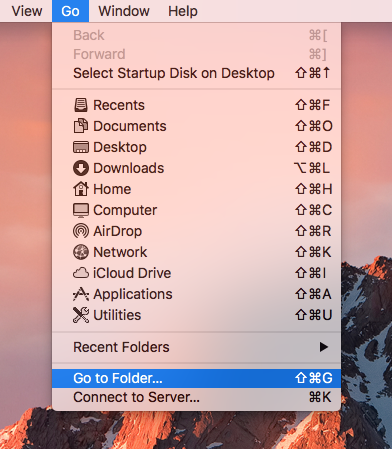
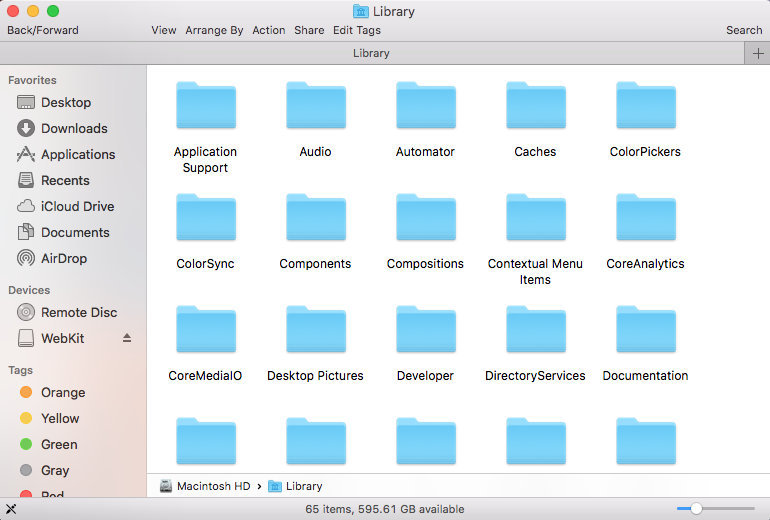
- Open Finder, click on “Go” in the menu bar, hold down on the Alt/Option key to bring up the Library option, then click on it.
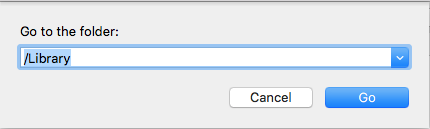
Inside of Library you’ll see a clutter of folders, some of which contain the files relating to the app you deleted. Go inside of each folder and search for any files that are associated with your app. To save you some time, these are the folders I found associated files of deleted apps:
- Application Support
- Caches
- Containers
- Frameworks
- Logs
- Preferences
- Saved Application
Warning: Deleting the wrong files from Library could potentially cause harm to your other apps (slow them down, wipe information, etc.), so make sure to be careful what you get rid of.
4. More tips: How to disable the WebKit default home page
One minor issue with using WebKit, however, is that it sets the default ‘new window’ page to this page, which thanks you for helping test WebKit, and lets you know there’s a new nightly build available. This constant reminder helps insure that the WebKit team doesn’t get bug reports against older nightly builds, but it gets annoying relatively quickly. (As a side hint, you can use NightShift to automatically download and install new nightly builds; highly recommended.)
If you’d like your Safari home page back while using WebKit, you’ll need to use a simple Terminal command, which is documented on this page on the WebKit site (quit WebKit first):
defaults write org.webkit.nightly.WebKit StartPageDisabled -bool YES
Relaunch WebKit, and it will now respect your home page setting, as set in the General tab of WebKit’s Preferences panel.
 $29.95/lifetime