Here’s How to Successfully Remove Visual Studio for Mac
Having difficulty in using Visual Studio? Not satisfied with the Mac version of Visual Studio? Read through this post to know how to remove Visual Studio from your Mac.
Visual Studio is an integrated development environment published by Microsoft, which means it is well integrated with the system, and it could be hard to get fully removed. If you don’t want to keep this app on your Mac but have not idea how to properly and entirely uninstall this app, perform the following steps in correct order.

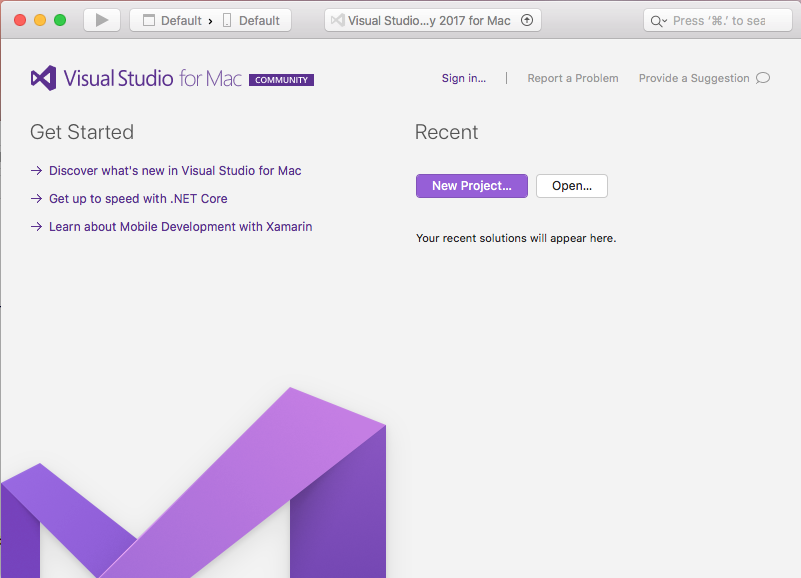
First Step: Quit Visual Studio
Some Mac beginners may not be aware of this point: prior to the uninstall, make sure to check if Visual Studio has been deactivated. If an app is active, you will not be able to delete it to the Trash as an error message will pop up to interrupt the deletion.
Here are the available options to quit a running/frozen app on macOS/Mac OS X:
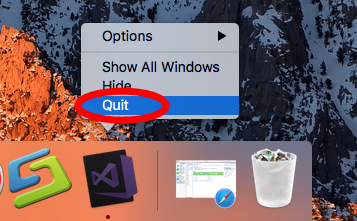
(1)Right click on the app icon appearing in Dock and choose Quit
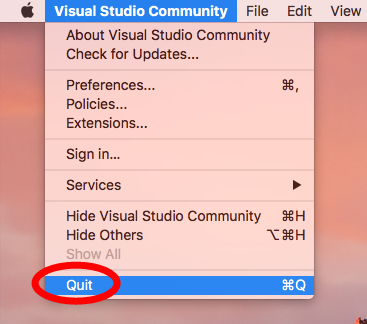
(2)Head to Visual Studio at the menu bar and choose Quit Visual Studio
(3)Launch Activity Monitor, select any process pertaining to the target app under the Process Name, then click X on the upper left corner, and click Quit button
(4)Press the Option – Command – Esc keystroke to bring up the Quit Applications window, select Visual Studio in the list and click Force Quit button
Most third-party apps can be shut down without trouble, but if you are dealing with large software or malicious app, those Quit options may fail. The last option is to (5) reboot Mac into Safe Mode to kill the app, and continue with the regular uninstall.
Second Step: RemoveVisual Studio
Roughly you have two solutions to remove Visual Studio from your Mac, and we list both of them below.
Option 1: run Osx Uninstaller to delete Visual Studio
Wondering how to uninstall Visual Studio with minimal effort? Here we would like to recommend you to adopt a time-saving, hassle-free approach, i.e. using the professional Osx Uninstaller to handle the task. As a lightweight tool optimized for the latest macOS, Osx Uninstaller allows you to remove apps within several clicks.
Watch this video clip to better understand how this tool works in removal task:
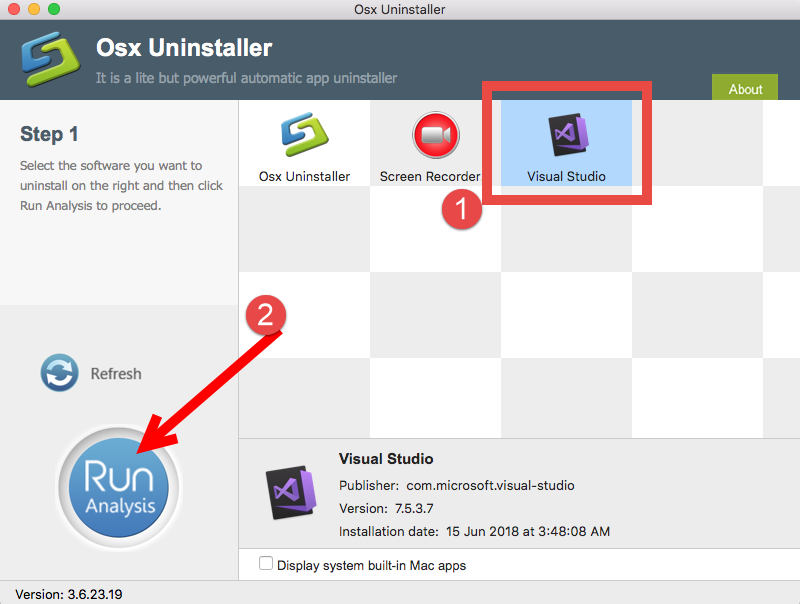
- Launch Osx Uninstaller via Launchpad, Spotlight or the /Applications folder.
- Select Visual Studio in the interface and click the Run Analysis button.
- Click the Complete Uninstall button, and click Yes in the pop-up dialog box.
- Once the removal is complete, click Back to Interface to re-scan your Mac.
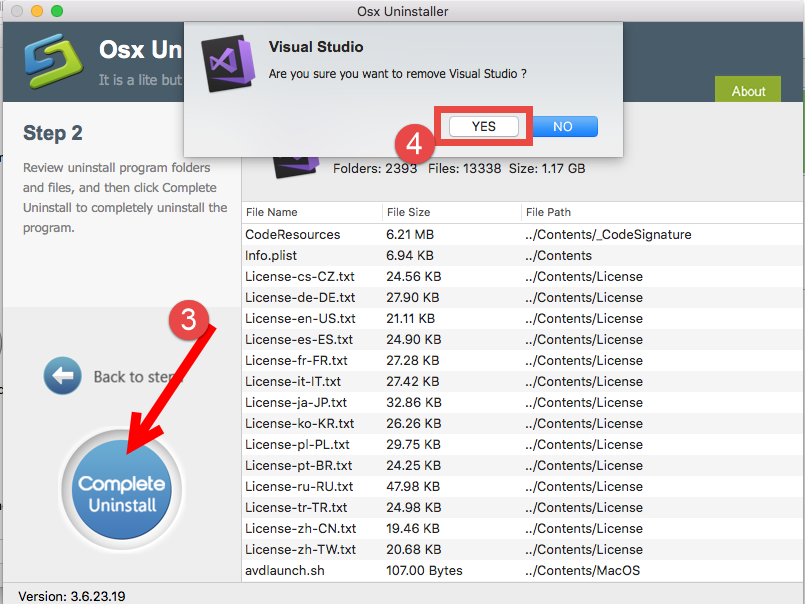
In this test, Visual Studio can be effectively removed by Osx Uninstaller (about 1.17 GB size of files are deleted automatically), and the whole thing may last even less than one minute. Very quick and intuitive procedure, right? With this tool in hand, you don’t have to search for the associate Visual Studio creates outside the app package.
Option 2: Remove Visual Studio by trashing it
Prefer to manually uninstall Visual Studio without using Osx Uninstaller? Here are the conventional steps you can follow to delete Visual Studio the app itself on Mac:
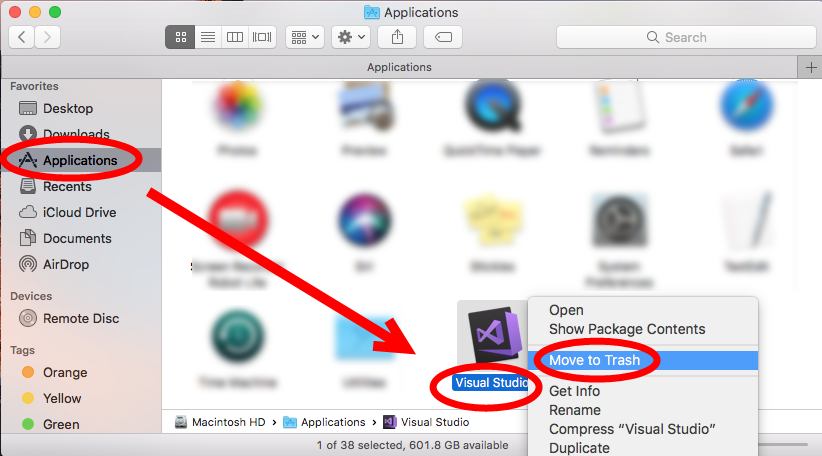
- Open up Finder and click the Applications folder on the left side.
- Locate Visual Studio in the folder, right click on it and choose Move to Trash.
- Head to Finder menu, choose Empty Trash, and click Empty Trash again. Alternative, right click Trash icon in dock, choose Empty Trash and click Empty Trash again.
Warning: Emptying Trash is irrevocable and everything in the Trash will be deleted from your Mac immediately, so check the items in the Trash before emptying it permanently. If you want to avoid any risk in this process, you can just delete Visual Studio in the Trash. To do so, open up Trash, right click on Visual Studio, choose Delete Immediately, and then click Delete button in the pop-up window.
Typically, this trash-to-uninstall method is feasible to uninstall third party apps in all versions of macOS / Mac OS X. If you cannot trash the app, make sure to quit all its processes first. Or rather, you can turn to Osx Uninstaller to save the laborious work.
Last Step: Delete Leftovers in (~)Library
For some Mac users, the uninstall has been complete since the app has gone from their Macs. However, they may neglect the fact that, most apps would create related items or plugins which reside in other system directories rather than the installation package. If you wish to thoroughly remove Visual Studio, continue with the steps:
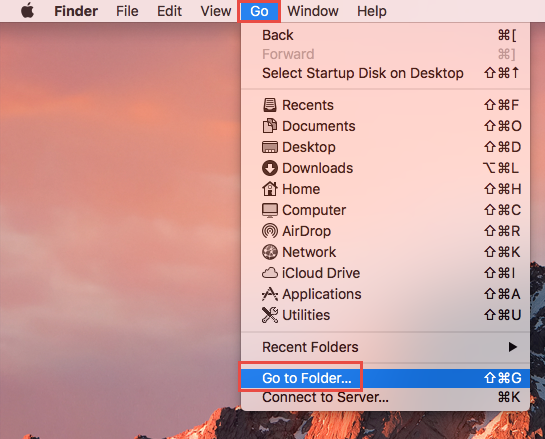
- In a Finder window, click Go from the Menu Bar, and choose Go to Folder.
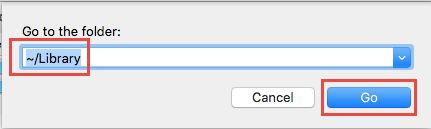
- Type ~/Library and hit Enter key to open up the user library inside home folder.
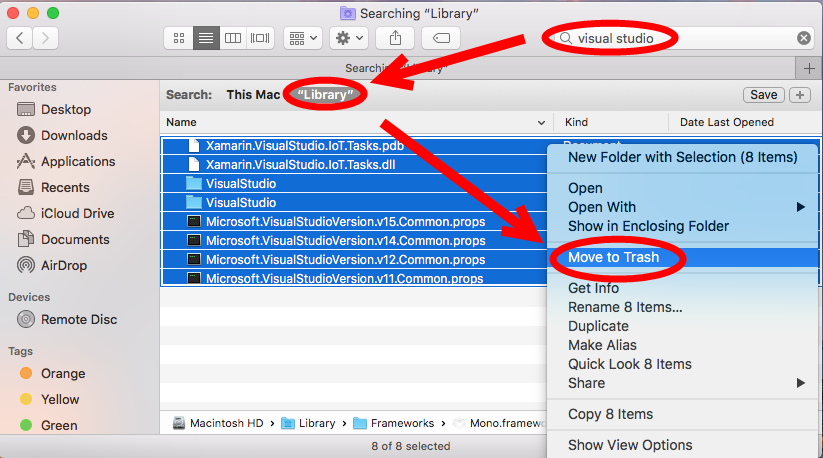
- Type Visual Studio in the search box, and click ‘Library’ next to ‘This Mac’.
- Select the items whose names contain the keyword, and move them to the Trash.
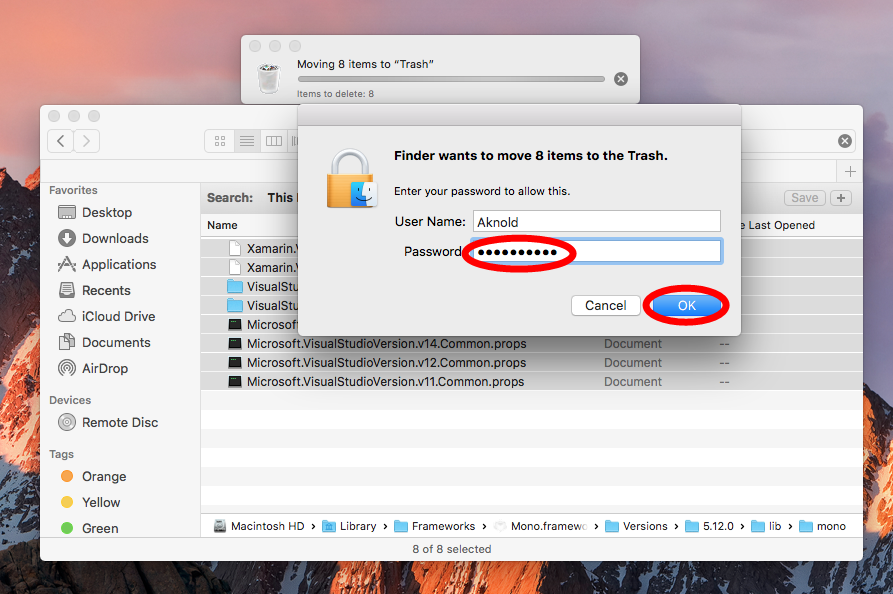
- When prompted, enter your admin account password to allow this change.
Here are some directories that may contain Visual Studio components:
~/Library/Caches, ~/Library/Preferences, ~/Library/Application Support, ~/Library/Saved Application State, ~/Library/LaunchAgents, ~/Library/LaunchDaemons, ~/Library/PreferencePanes, ~/Library/StartupItems
- Continue to search for and delete leftovers in the top level Library (/Library).
- Empty the Trash to permanently delete all Visual Studio components.
Warning: Again, once you delete items in Trash, the items cannot be restored (at least by normal means). Before deleting the files pertaining to Visual Studio, we strongly suggest you to reboot your Mac and use it for a day to see if any problem happens. If issues occur, go back to check if you mistakenly delete any thing there.
Now you should have uninstalled Visual Studio and removed (at lease most of) its traces around the system. Still, we would remind you that manual detection may not guarantee a 100% removal of all components of Visual Studio. If you fail to locate and remove Visual Studio leftovers, consider utilizing Osx Uninstaller to get the job done.
Though it is a paid software that requires you to purchase a valid license, you may think it worthy when it helps you to delete unwanted apps quickly & perfectly.
 $29.95/lifetime