Simple Steps to Remove OneDrive (SkyDrive) for Mac
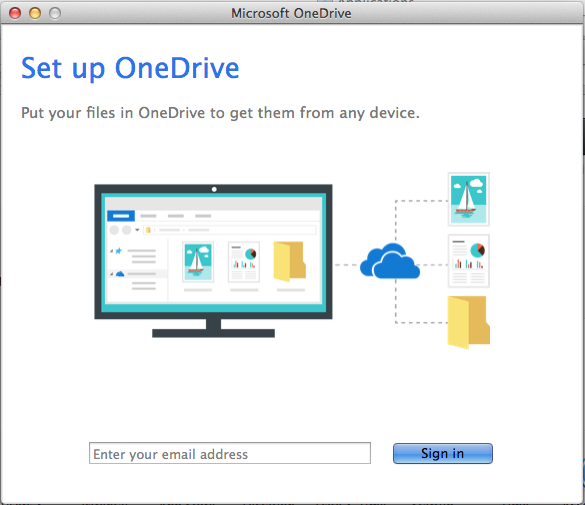
Microsoft OneDrive (formally SkyDrive) is a cloud-base storage and syncing client that lets you share files across multiple devices like PCs, tablets, and mobile phones. The mac version of this application makes it easy to access your OneDrive files on your Mac. Once installed, it will create a folder that can be accessed from the Finder, and any files that are dragged to this folder will be automatically uploaded to your cloud storage account. But what if you want to remove OneDrive from your Mac?
How to remove OneDrive effortlessly? Check out this tutorial to learn more details.

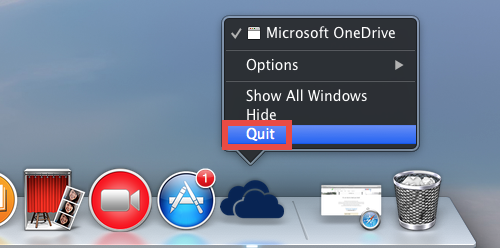
Tip: Prior to the uninstallation of OneDrive, you are supposed to unlink this app. To do so, click on the OneDrive icon, choose Preferences > About, and then click on Unlink. If its icon still appears in the dock, right click on it and choose Quite option.
Now you can uninstall OneDrive using the recommended tool provided below, to save your time and avoid trouble. Or you can adopt the manual uninstall method as well.
Recommended Way to Remove OneDrive for Mac
To get you know how swiftly and simply OneDrive can be uninstalled on your Mac, we would like to first demonstrate an one-station uninstall solution. Osx Uninstaller is a reputed app specializing in uninstalling problematic, stubborn and even malicious apps on Mac. In our test OneDrive can be easily removed within a few clicks. Now have a direct experience of its effectiveness by watching the following video clip.
1. Download Osx Uninstaller and install it by dragging it to the Application folder.
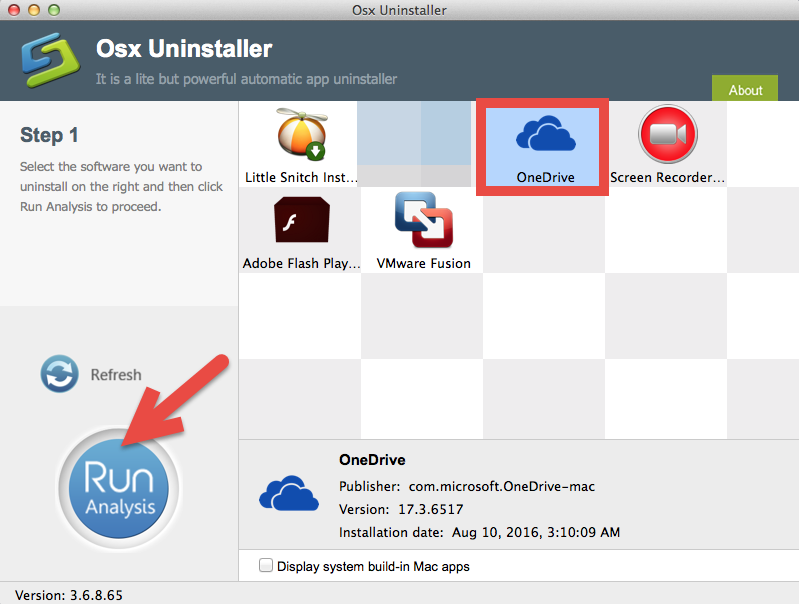
2. Launch Osx Uninstaller, select OneDrive, and tap Run Analysis button to proceed.
3. Review the scanned components pertaining to OneDrive, click Complete Uninstall button, and then click Yes in the pop-up dialog box to perform a thorough uninstall.
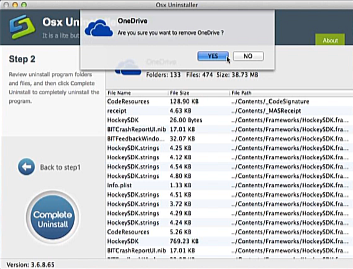
See? The whole removal process may only take a few seconds to finish, and then the OneDrive and all associated stuffs will be successfully deleted from your system. OU is a handy and trustworthy clean tool for Mac beginners, as well as experienced users. Anytime you run into uninstall issues, just give Osx Uninstaller a try to help fix them.
Take the Manual Steps to Uninstall OneDrive for Mac
If you prefer to remove OneDrive without utilizing 3rd party tool, here are the standard steps you can take to get rid of this app. Follow the instructions below.
1. Terminate application-related processes
As mentioned before, you should quit the target app before uninstall it, otherwise error message might pop up to interrupt the uninstall process. You can try this:
- Locate the Utilities folder in launchpad, and click Activity Monitor from this folder.
- Select OneDrive and click Quit Process icon in the left corner of the window.
- Click Quit in the pop-up dialog box (if that doesn’t work, then try Force Quit).
2. Uninstall OneDrive (two options included)
Make sure that you have logged into your Mac with an administrator account, and you may be asked for a password again when you try to delete something in the Finder.
(1) Drag OneDrive to the Trash
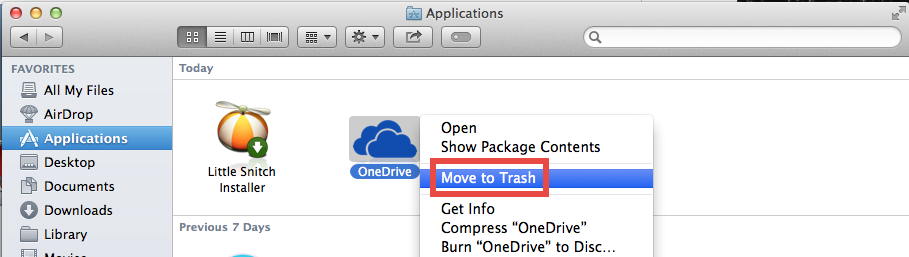
- Open the Finder and head to the Applications folder on the left panel.
- Drag OneDrive icon to the Trash in the dock (or right click on it &choose Move to Trash). You may be prompted to enter your Mac credentials to execute this change.
- Right click the Trash icon on the dock, and choose Empty Trash option.
This is the drag-to-delete method to uninstall most Mac apps in all versions of Mac OS X. Generally it will instantly remove the app you select from sight. But if you fail to drag the app icon to the trash, try the next method to perform the uninstall.
(2) Delete OneDrive in Launchpad
- Open Launchpad, and type OneDrive in the search box at the top.
- Hold on OneDrive icon until the icon begins to wiggle and shows the “X” .
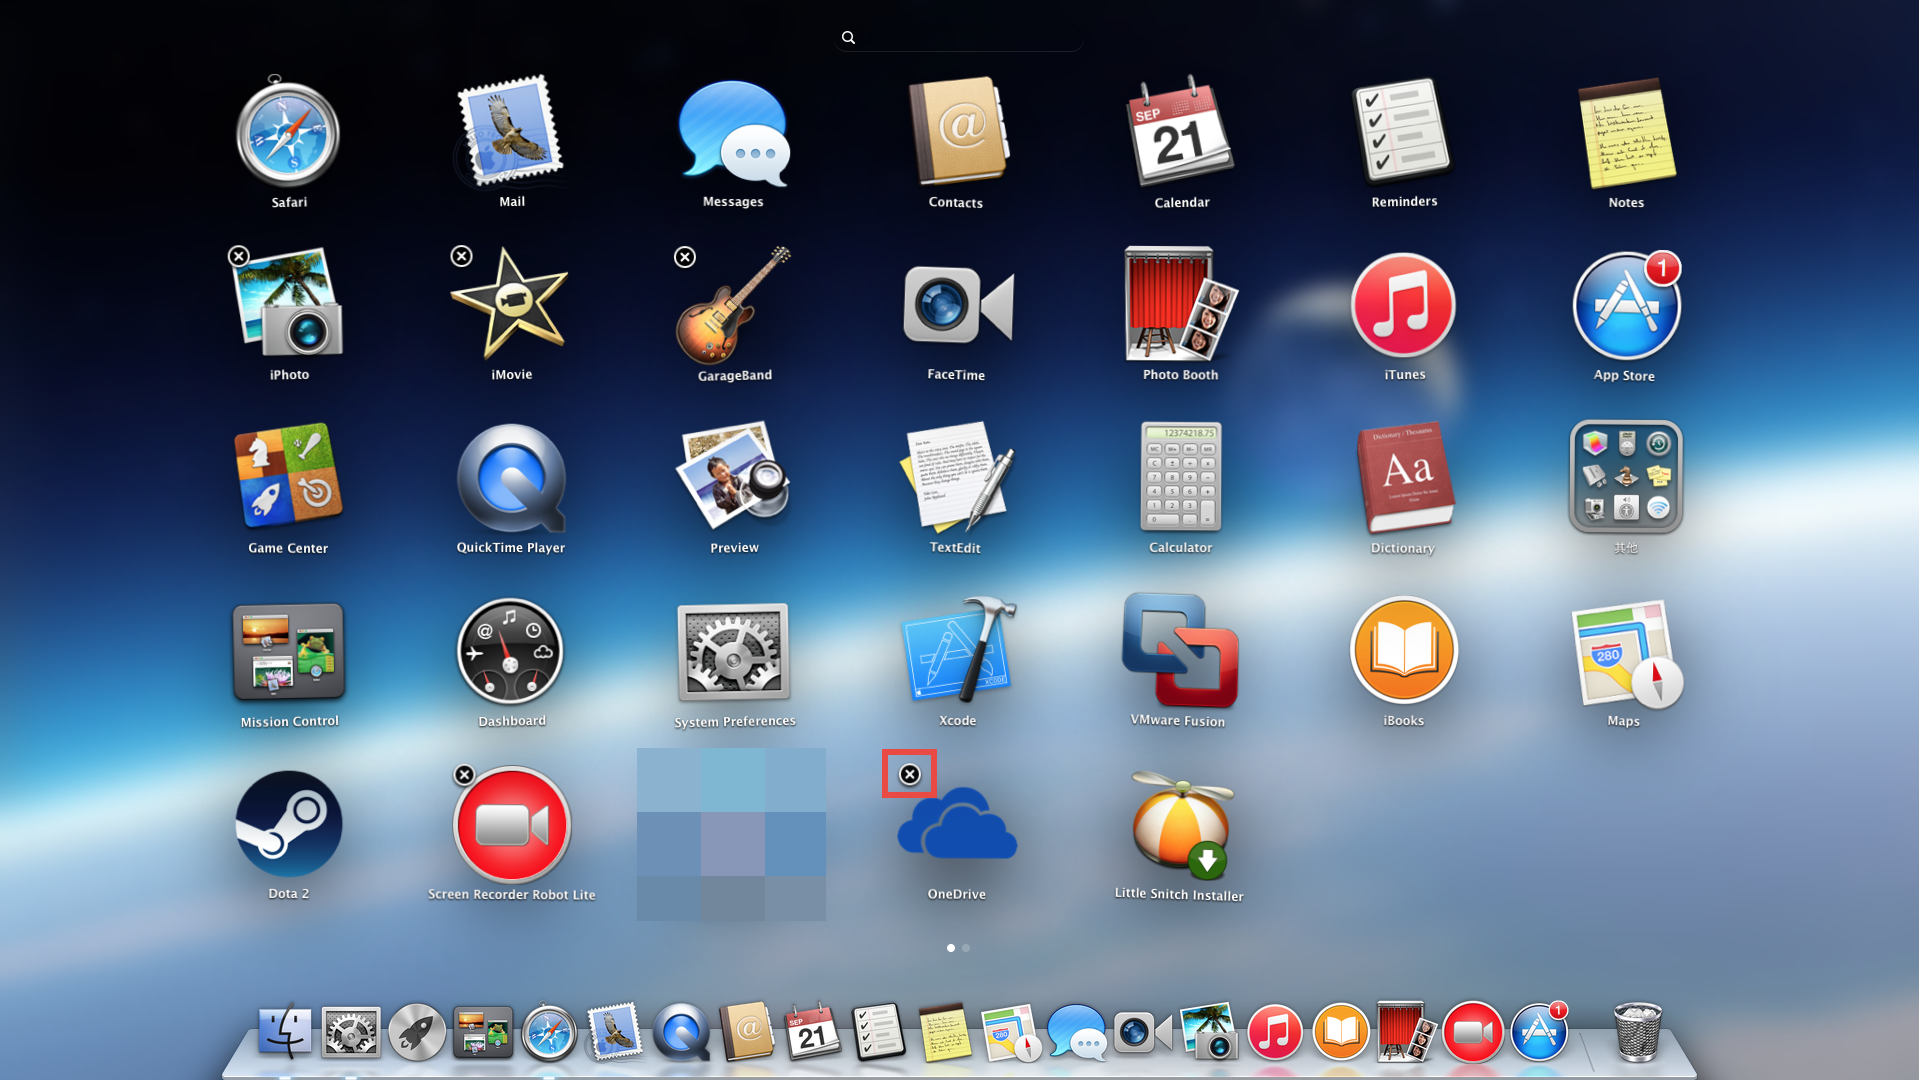
- Tap the “X” in the left top corner, and then click Delete in the pop-up dialog.

This way works for the apps which are downloaded and installed from the App Store. Once you click the X icon, the app will be uninstalled instantly from your Mac.
3. Delete OneDrive leftovers
Now you have removed OneDrive from the Applications folder, but its components are not fully deleted yet. Once installed, OneDrive creates preferences and support files which may remain even after OneDrive has been uninstalled. To carry out a clean uninstall, you need to manually remove the additional OneDrive files.
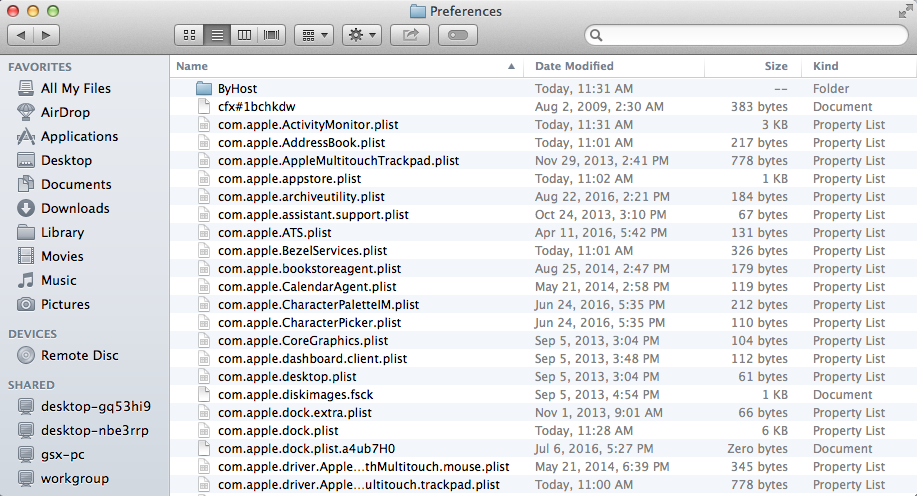
- Open the Finder, click the “Go” from the Menu Bar, select the entry: |Go to Folder… in the list and then enter the path of the Application Support folder: ~/Library
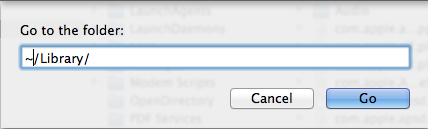
- Search any files or folders containing the name of OneDrive in these folders:
~/Library/Developer/,
~/Library/Preferences/,
~/Library/Application Support/
~/Library/Caches/ folders
– Right click on the matched items and choose Move to Trash option.
- Meanwhile, search the following locations to delete associated items:
/Library/Developer/
/Library/Preferences/
/Library/Application Support/
/Library/Caches/
4. Empty the Trash
Need to fully delete all its components from your system? Decide not to use OneDrive anymore? Well, the last thing you need to do is to empty the Trash. But hey, here is the important point you should always remember: the act of emptying the Trash is irrevocable, and everything kept in the Trash will be deleted immediately. How to do:
- Right click on the Trash icon in the dock.
- Choose Empty Trash and click OK in the pop-up dialog.

- Alternatively, you can empty the Trash by choosing the Empty Trash under the Finder menu. In case you cannot empty the Trash, reboot your Mac and do it again.
- If you change your mind about deleting the item, you can right click on the items in the Trash and choose Put Back option, on the condition that Trash is not emptied yet.
Now here comes the ultimate end of manual removal of OneDrive. Don’t forget to remove the locally store OneDrive folder in Finder. Generally speaking, OneDrive along with its all associated components will be deleted fully. But if you come across any uninstall issues during the process, try the recommended option listed above.
To sum up, we have listed two feasible approaches to guide you to remove OneDrive for Mac. You can choose the one you prefer to perform a complete removal, but to tell you the truth, adopting the manual method is not as much effectively & smoothly as utilizing a reliable uninstall tool. Osx Uninstaller – an awesome app deserving a try.
 $29.95/lifetime