Removal Guide: How to Remove Caffeine Successfully on Your Mac
Try to uninstall Caffeine on Mac but failed in the end? You might be confused when remove Caffeine on Mac, before you do anything, we suggest you read this Caffeine removal guide and you will learn a proper way about how to uninstall Caffeine completely step by step.
A Cup of Coffee Always Keep Your Mac Awake
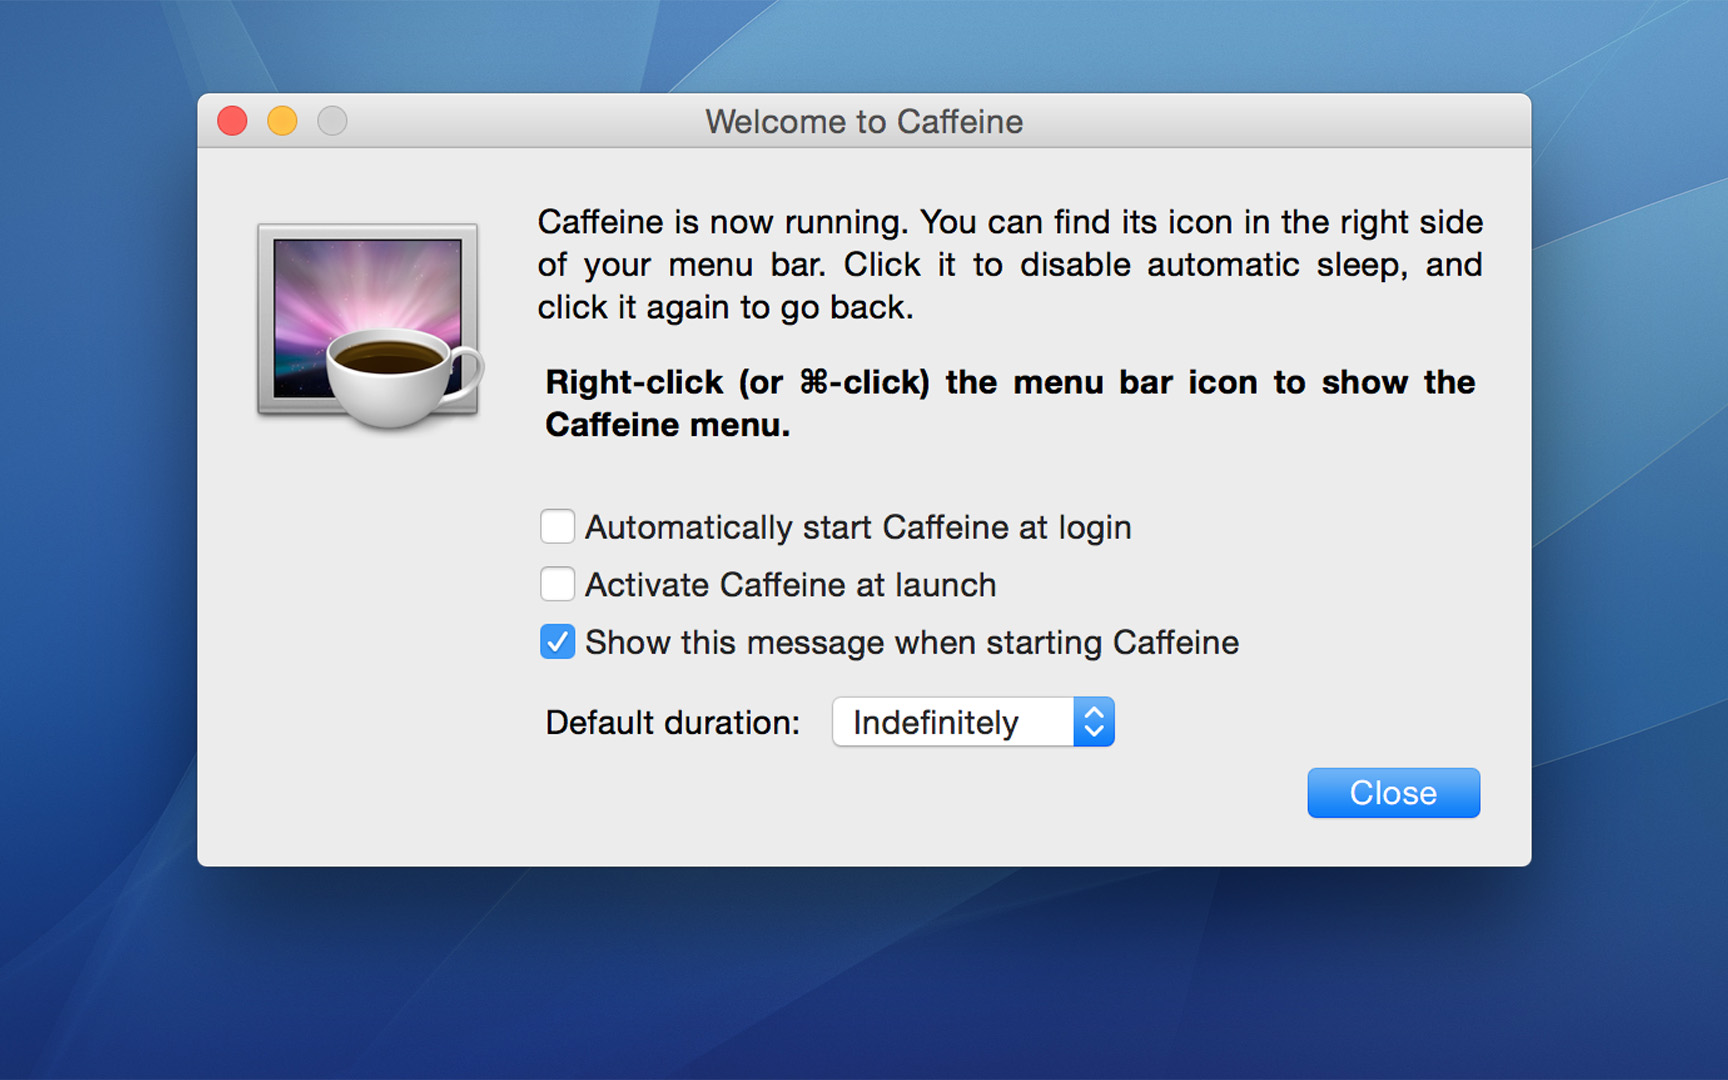
Caffeine for Mac is designed for macOS keeping your Mac from going to sleep, like a real coffee keep people awake in the busy work, Caffeine absolutely can achieve this effect. “Caffeine for Mac is a great utility for preventing the computer from starting its screensaver, going to sleep, or automatically dimming its screen after a period of inactivity. Caffeine is very simple to activate: just click on the coffee icon on the Menu bar to enable it and then click again to disable it.” If you don’t want to be disturbed when watching a movie by darker screen, then you could download Caffeine to refresh your computer. But what should you do to Caffeine when you don’t need it?
How to Remove Caffeine Manually
When people uninstall something, he/she always use the manual approach first, so let’s look at how this common method works when removing Caffeine for Mac.
First of all, always remember to terminate process of Caffeine from running, because if the application is under launched on the background, it will lead to a great chance that you failed in the total removal.
Use Trash is common sense to uninstall applications on Mac by drag your target (Caffeine for Mac) into Trash. Usually there are two ways to do that:
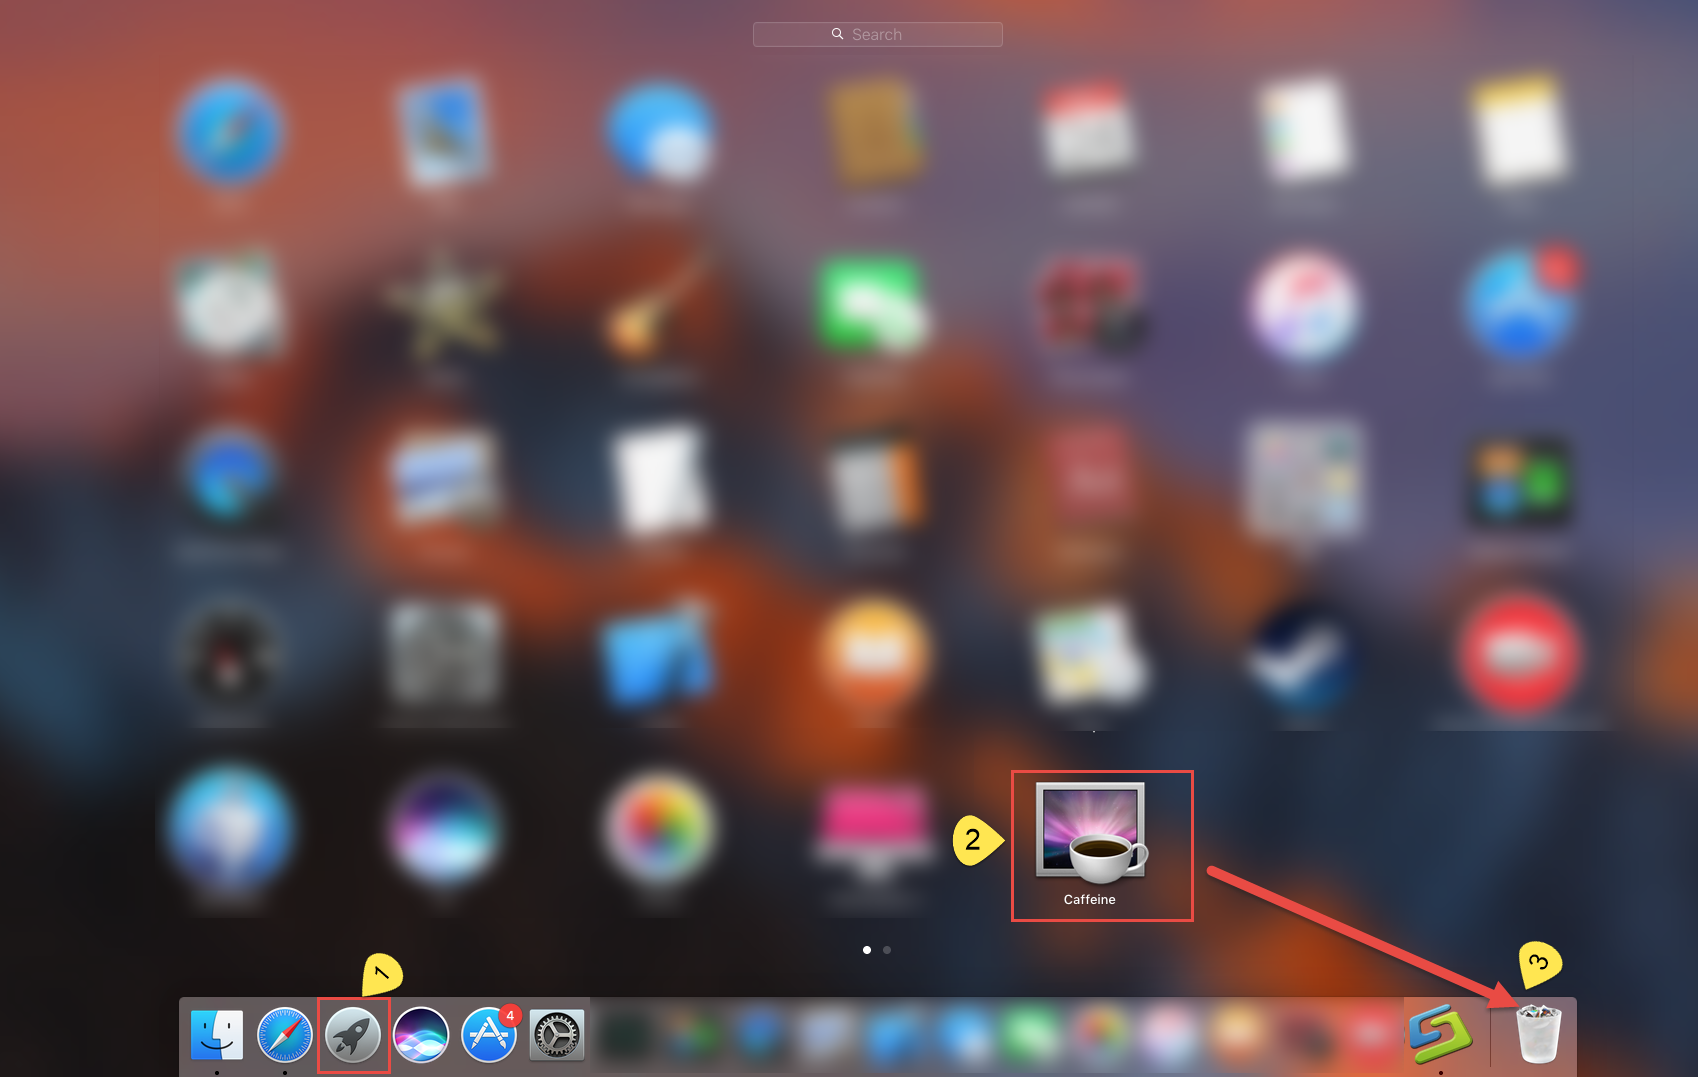
One is drag it in the Launchpad:
- Click Launchpad to open the window, find the icon of Caffeine for Mac on the interface, select it
- Straightly drag Caffeine for Mac into Trash on Dock.
Other is move it to Trash in Application:
- Click Finder on Dock to open widow, find the icon of Caffeine for Mac on the interface, select it
- Straightly drag Caffeine for Mac into Trash on Dock

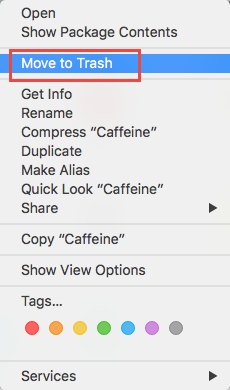
- Or right-click it to choose Move to Trash on the popup window
Now you have finished the half of whole removal procedure, want to know the other half of procedure, keep reading.
Delete all the Leftovers Related to Caffeine on Mac
The feature of Trash may seems super easy for everyone who uses Mac, but how to delete all of its leftovers is not a simple thing that everyone could finish with ease or success, because the leftovers stored in different folders on your hard drive, you need to delete them one by one with no mistakes happened during removal, thus, that’s the point of whole Caffeine removal on Mac.
- Launch Finder, go to Go in menu bar, and select the entry Go to Folder…

- Type the path ~/Library in Go to the Folder box, and hit Go to open it up

- Type the name of Caffeine (target app) or its vendor in Search Bar, and click on “Library”

- Identify the matched items in search results, and remove them to the Trash.
- Search for correct items with the name of Caffeine in following locations (like above):
- ~/Library/Caches
- ~/Library/Preferences
- ~/Library/ApplicationSupport

- Finally, right- click Trash to choose Empty the Trash to delete all the files you have deleted just now to confirm your removal.
Why Use Trash is Possible Failed to Uninstall Caffeine?
In the past and present of macOS, when a user deletes a file or folder it is moved to the Trash, the file appears to be gone, but the actual data comprising it still takes up space on the drive, which a great number of associated files will store in such as supported files, caches, preferences and other additional files in various folders. Therefore, you should go to the related folders and delete all of the associated files one by one. In a word, to accurate delete correct files related with Caffeine in such more folders >>files is rather extremely difficult.
How to Remove Caffeine Automatically
If you are not confident enough to delete all the leftovers, it is recommended you to use auto approach to help with getting rid of Caffeine. Since you can completely remove Caffeine on Mac with your hands, then you should try on the third party removal tool—Osx Uninstaller.
Uninstall Mac Unwanted Apps with Ease
Quit Caffeine from running on the background.
Install Osx Uninstaller on your Mac and begin your Caffeine removal step by step (only three steps in all):
Step 1. Launch the uninstaller, find Caffeine in the interface, then select it, easily click Run Analysis on the bottom.

Step 2. Easily click Compete Uninstall button.
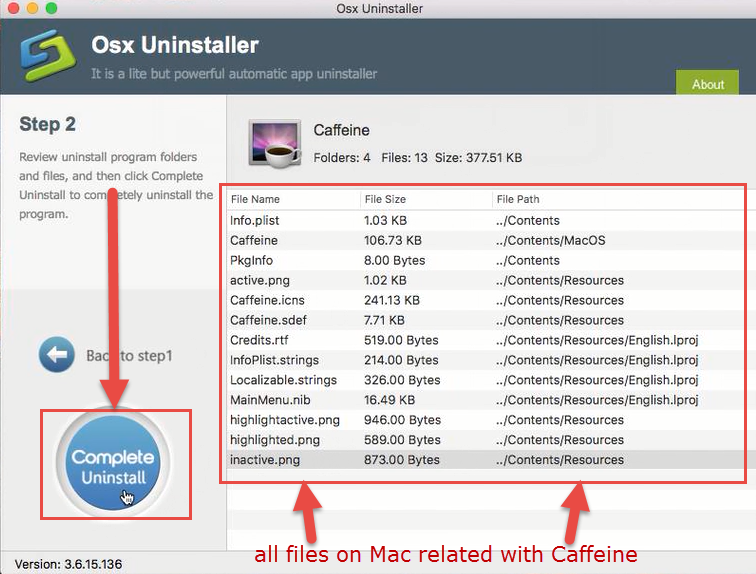
Then the uninstaller will wholly scan all of components, folders or files associated with Caffeine on your computer, in a few seconds click Yes to delete all the leftovers that you have worried most.
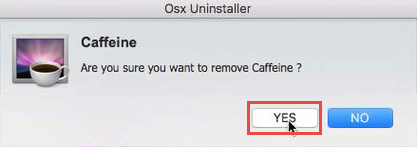
Step 3. Congratulations, the Caffeine is successfully removed from your Mac now.

Spend a few minutes to watch the complete video of how to fully remove Caffeine from Mac:
Conclusion
We can see the result very clear that users take a big risk in removing Caffeine by manual method, but in automatic way, users would not have to worry about the mistakes or risks anymore, that’s the biggest difference when using these two ways. So, are you ready to decide which one to remove Caffeine for Mac now?


 $29.95/lifetime