How to Uninstall Xliff Editor for Mac?
Wondering how you can do to Uninstall Xliff Editor for your Mac? Thinking how you can get rid of remnants from macOS safely? This post will provide you a complete guide which will make you face challenges and solve those issues as we proceed with the Xliff Editor uninstall. If you’re looking for the ultimate guide that covers everything you need to succeed in completely removing Xliff Editor, here is a place to get started.
So, join me with this complete guide of exploring all methods you can use to uninstall Xliff Editor in macOS successfully.

Xliff Editor Overview
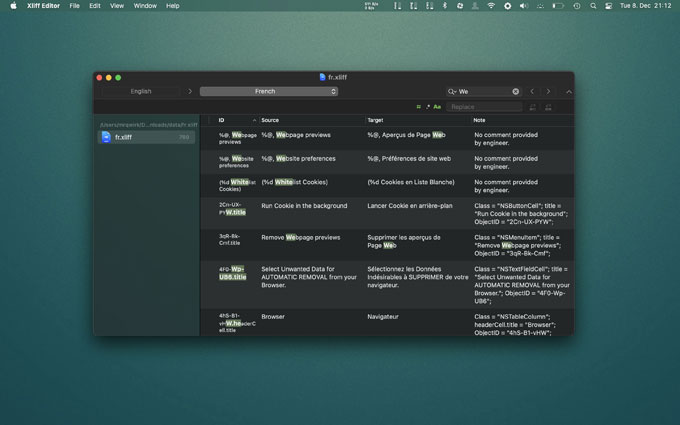
Xliff Editor is a XLIFF file editor especially designed for Mac users, which can help all of us edit and modify XLIFF files effortlessly, and all functions it carries out are very convenient to use. If are wondering to know the best method to edit XLIFF files without any messing up, then the Xliff Editor will be a choice. And Xliff Editor for Mac is fast to load, easy to use, and has a small memory footprint. With inline tag protection, fuzzy search, intuitive shortcuts, multiple concurrent file editing and native spell checking. There are also some very nice customizations that you can use to better suit your workflow.
Methods to Uninstall Xliff Editor on a Mac
How to uninstall Xliff Editor for your Mac? How to get rid of leftovers exactly? Get your questions answered inside the guide. This guide will be ready for you when you are ready to remove Xliff Editor.
Method 1
In the first part, we will go through all steps you need to know to uninstall Xliff Editor in a manual way.
1. Quit the Xliff Editor app in the Dock.
Usually, we can right-click the Xliff Editor app’s icon in the Dock and then select Quit from the pop-up menu.
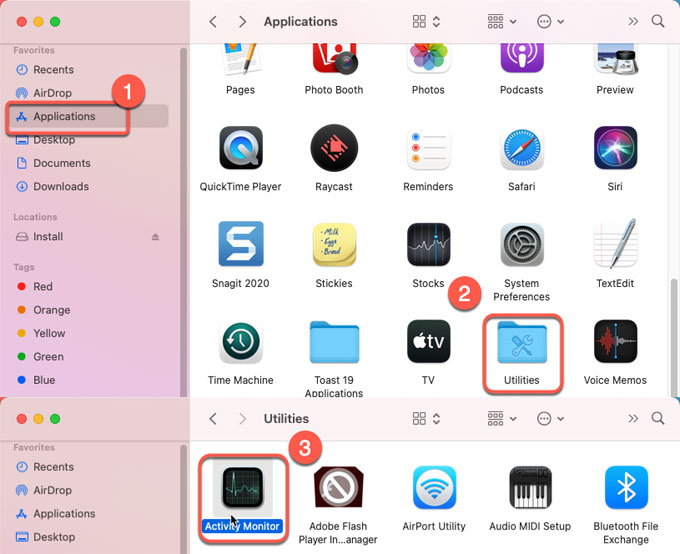
If you can’t quit the Xliff Editor app in the Dock, you can go to Activity Monitor and force quit it. Now, we need to open Activity Monitor from Applications folder, refer to:
Click Finder > open Applications folder> open Utilities > open Activity Monitor.
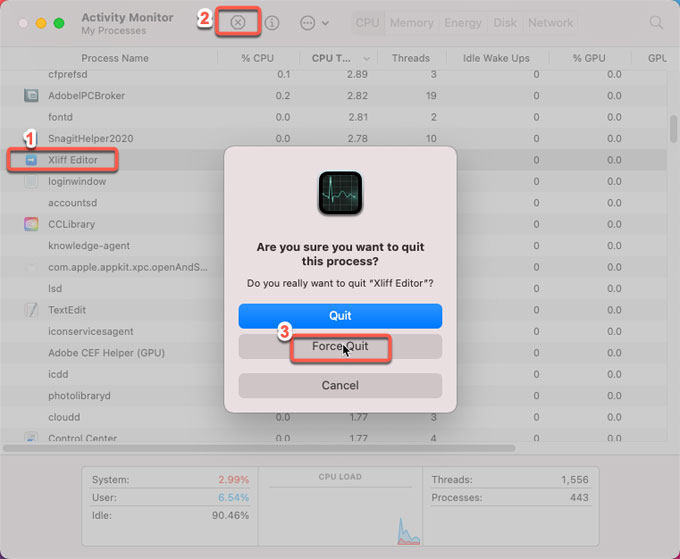
Select the Xliff Editor in the CPU tab > Click X icon > click Force Quit.
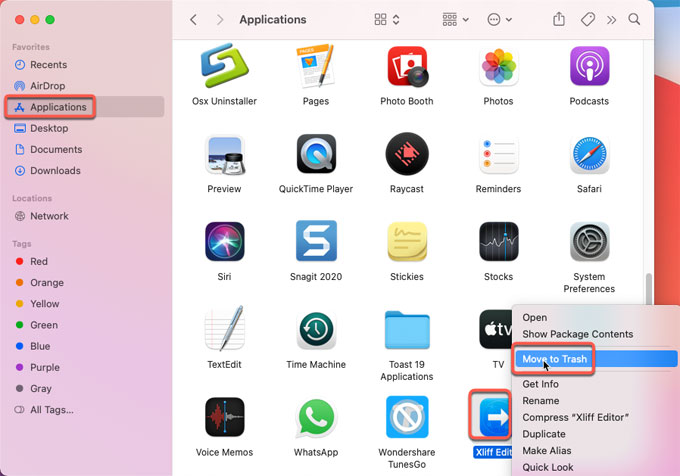
2. Move Xliff Editor to Trash folder.
To delete the Xliff Editor app you can drag it to the Trash folder immediately. Click Finder > click Applications > Right-click on Xliff Editor app icon > Click Move to Trash.
3. Delete Xliff Editor leftover junk files.
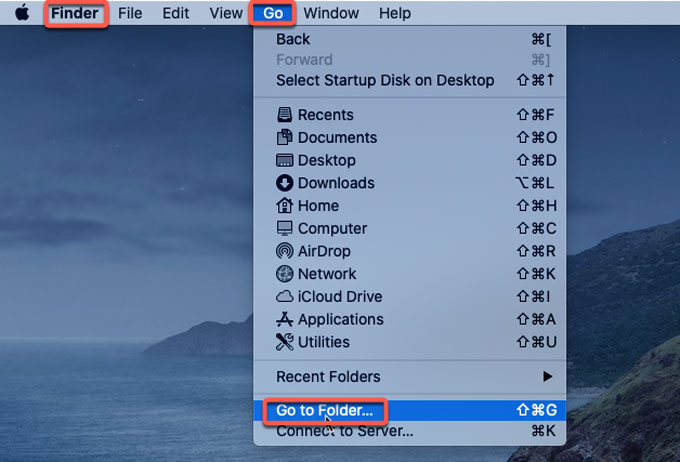
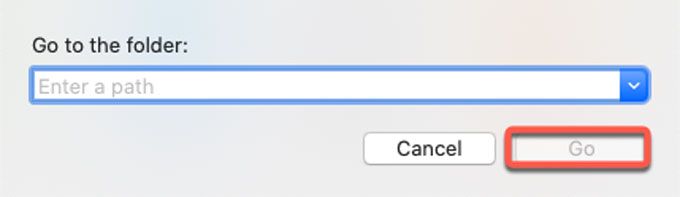
Click Finder > click Go > click Go to Folder > enter ‘~Library‘ in the box > click Go. You should go to the below sub-folders one by one, delete all files associated with the Xliff Editor app there.
~/Library/
~/Library/Caches/
~/Library/Application
~/Library/Preferences/
~/Library/Application Support/
~/Library/Saved Application State/
~/Library/Address Book Plug-Ins/
~/Library/Application Support/CrashReporter/
WARNING: This action can’t be undone! So please make sure you delete remnants of Xliff Editor rightly.
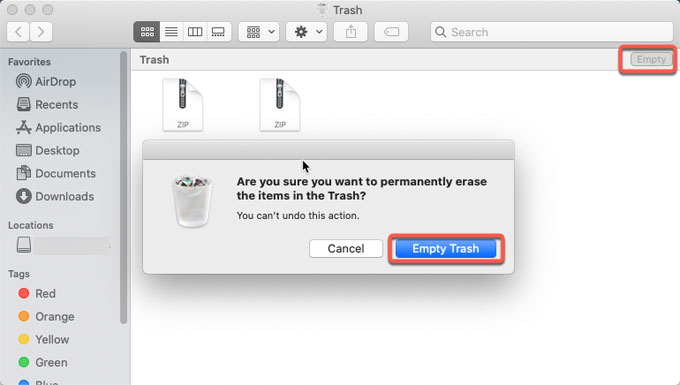
4. Empty Trash.
Open the Trash folder in the Dock. Click Empty > click Empty Trash to confirm that you want to permanently erase the Xliff Editor items in the Trash.
Method 2
In the second part, we will introduce how to utilize a professional uninstaller to get rid of Xliff Editor and other unwanted Mac apps without any efforts. We will utilize the Osx Uninstaller app.
1. Get the Osx Uninstaller tool ready for working.
Install Osx Uninstaller and activate it on your Mac. You can click the download button at the start and finish of the post to obtain the Osx Uninstaller in no time.
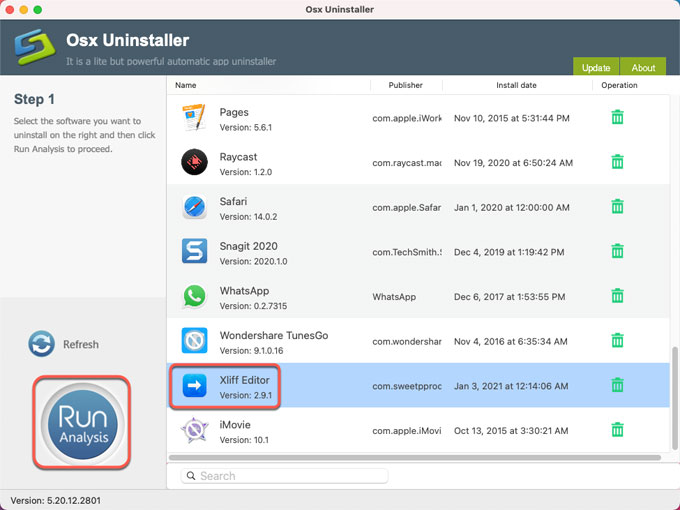
2. Launch Osx Uninstaller > click the Xliff Editor app (or you can search the app’s name to locate at it fast) > click Run Analysis.
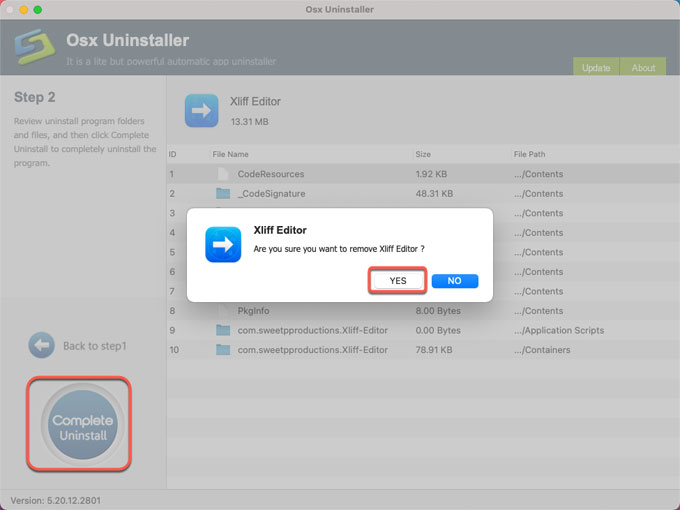
3. Click Complete Uninstall > click Yes to make sure that you are ready to uninstall Xliff Editor for your Mac right away.
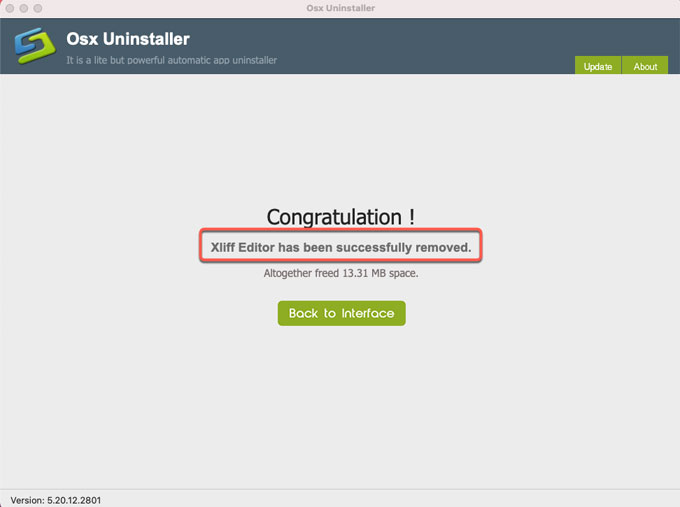
4. Once accomplished, you will look at a prompt that the Xliff Editor app has been successfully removed. You can go to the Step 1 page and have a check. After that Restart your Mac to make the change works.
Refer to ‘how to uninstall Xliff Editor’ video guide:
Conclusion
To manually uninstall Xliff Editor for Mac will be easy thing if you’re an experienced Mac user, however, it will be a little bit confusing if you are a complete beginner to Mac, especially when you deal with the leftovers. However, no matter who you are or what level your Mac knowledge is, Osx Uninstaller is very easy to use, which make it much easier to uninstall all your unwanted Mac apps in a few minutes. Choose the method you prefer now, clean out Xliff Editor and remnants like a pro.
 $29.95/lifetime